Cash Withdrawal & Balance Inquiry – Issuer
This guide provides step-by-step instructions for Issuer institutions to test SAN Cash Withdrawal and Balance Inquiry transactions using PayNet-provided terminals and the Developer Portal.
Who should use this: Banks, Non-Banks, TPA, EMI, Digital Banks acting as Card Issuers
Prerequisites
| Item | Provider |
|---|---|
| PayNet Terminal | PayNet |
| Login Credentials | PayNet |
| Test Card (Issuing Card) | Your Organization |
| Developer Portal Access | PayNet |
| FIID | Your Organization |
Step 1: Execute Transaction on PayNet Terminal
1.1 Terminal Login
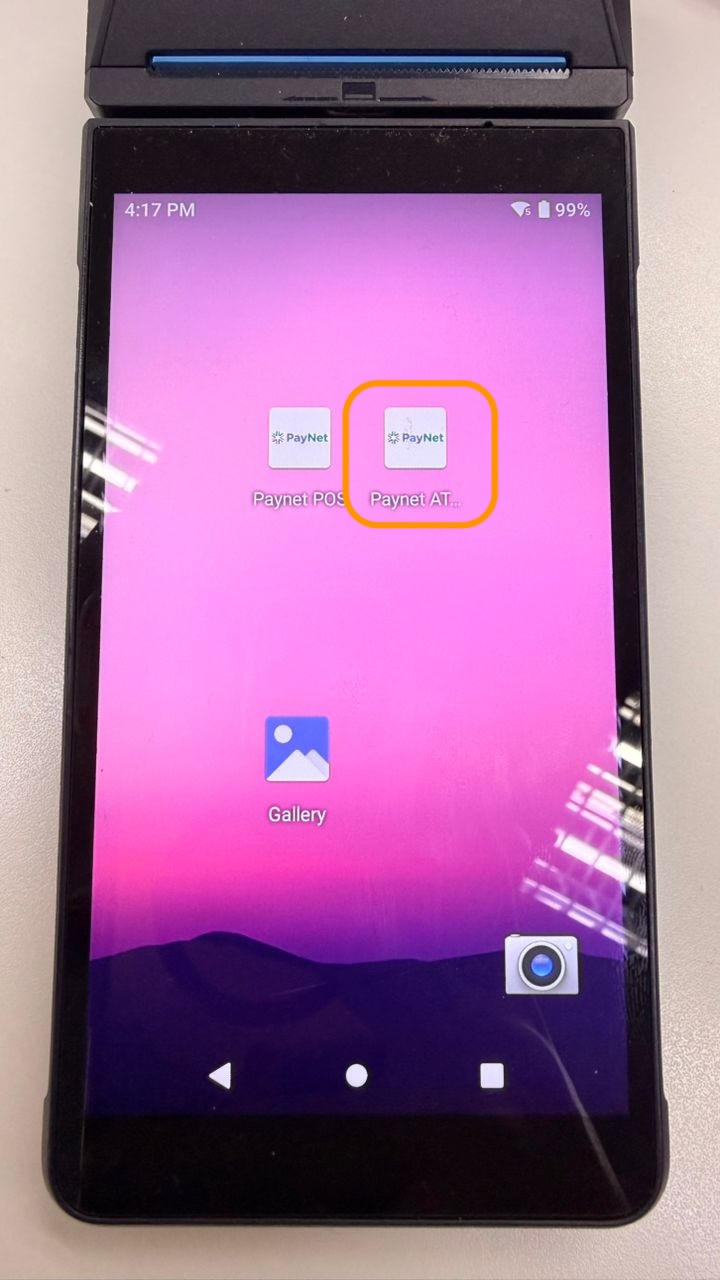
- Open PayNet ATM application
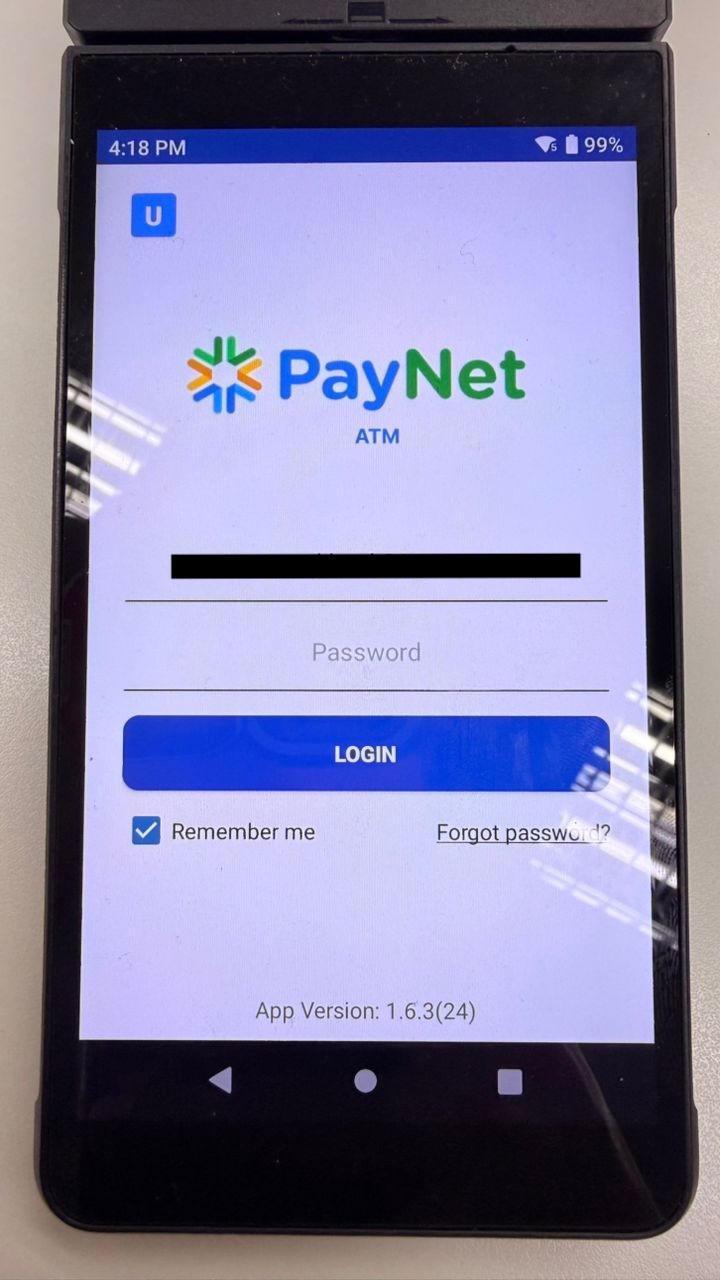
- Enter Email and Password provided by PayNet
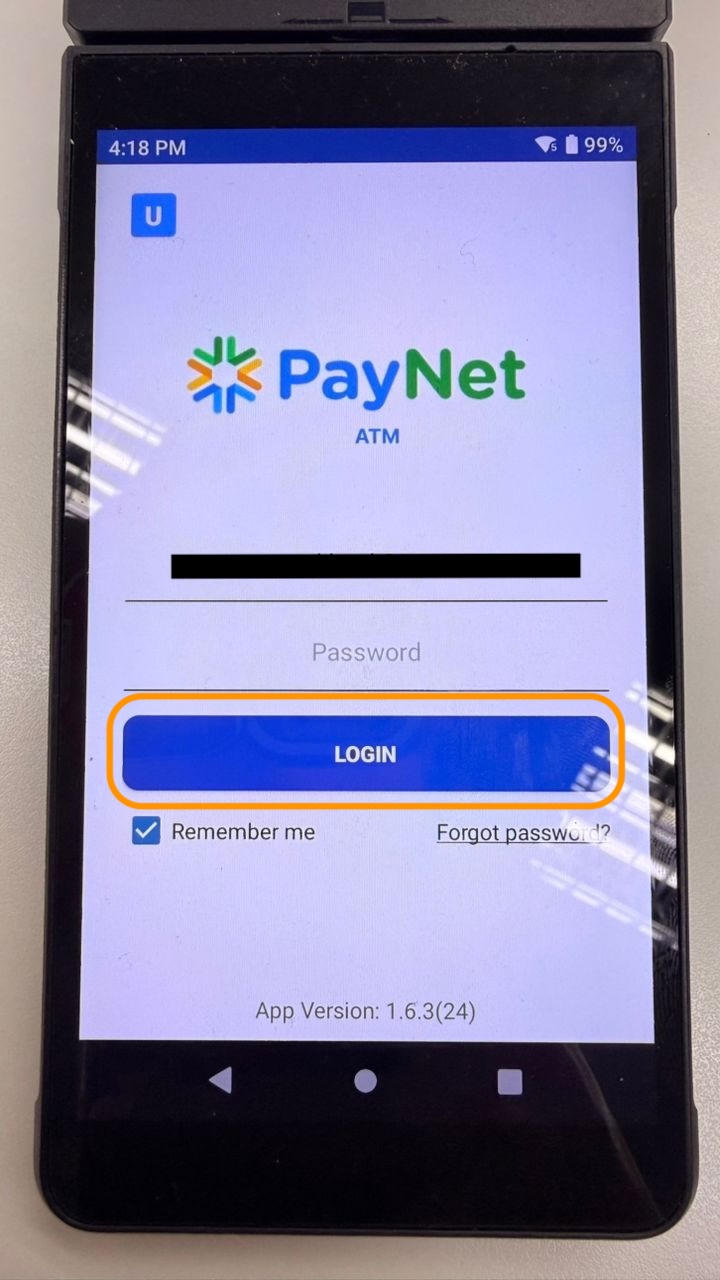
- Click Login
1.2 Balance Inquiry Transaction
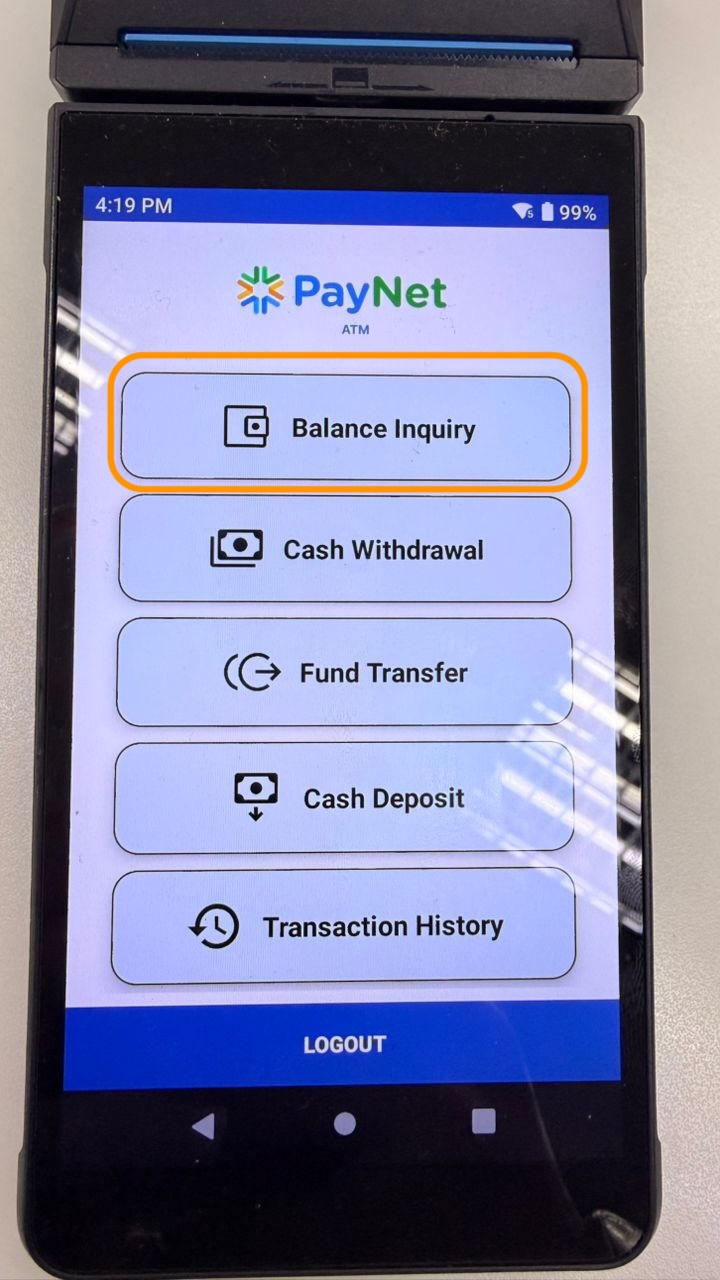
- Click Balance Inquiry
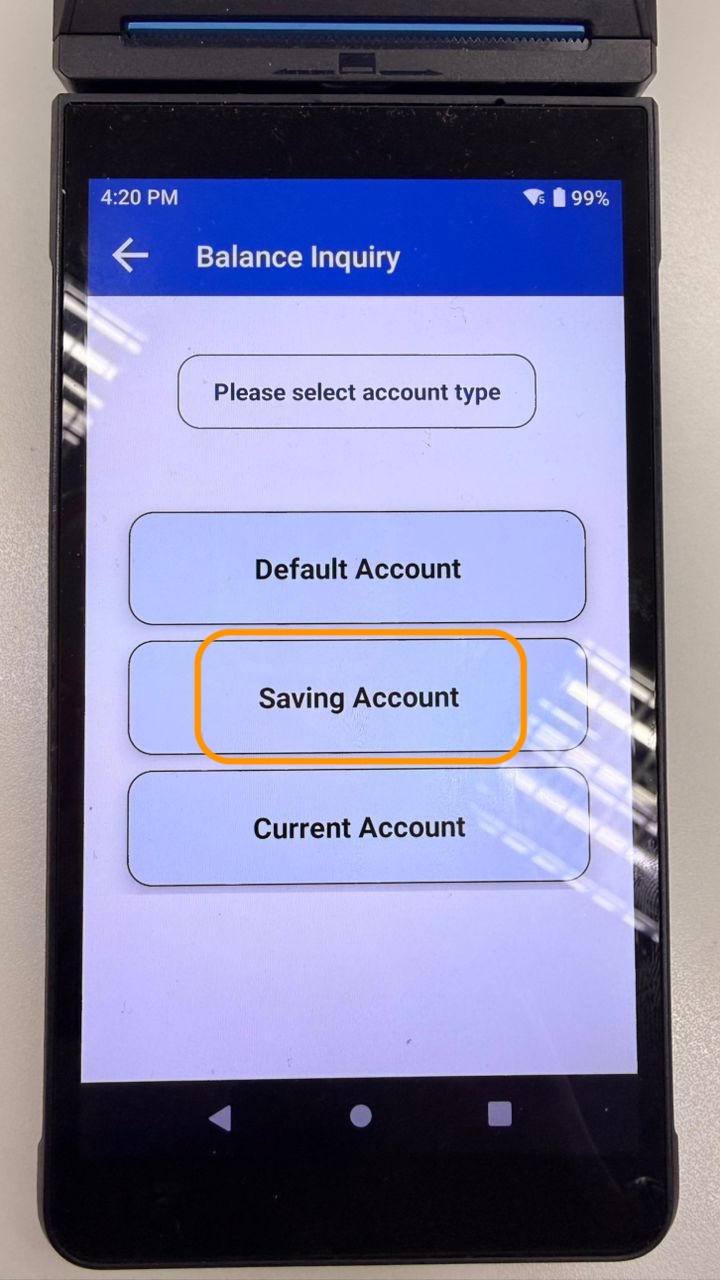
- Select account type: Saving / Current (match your test case)
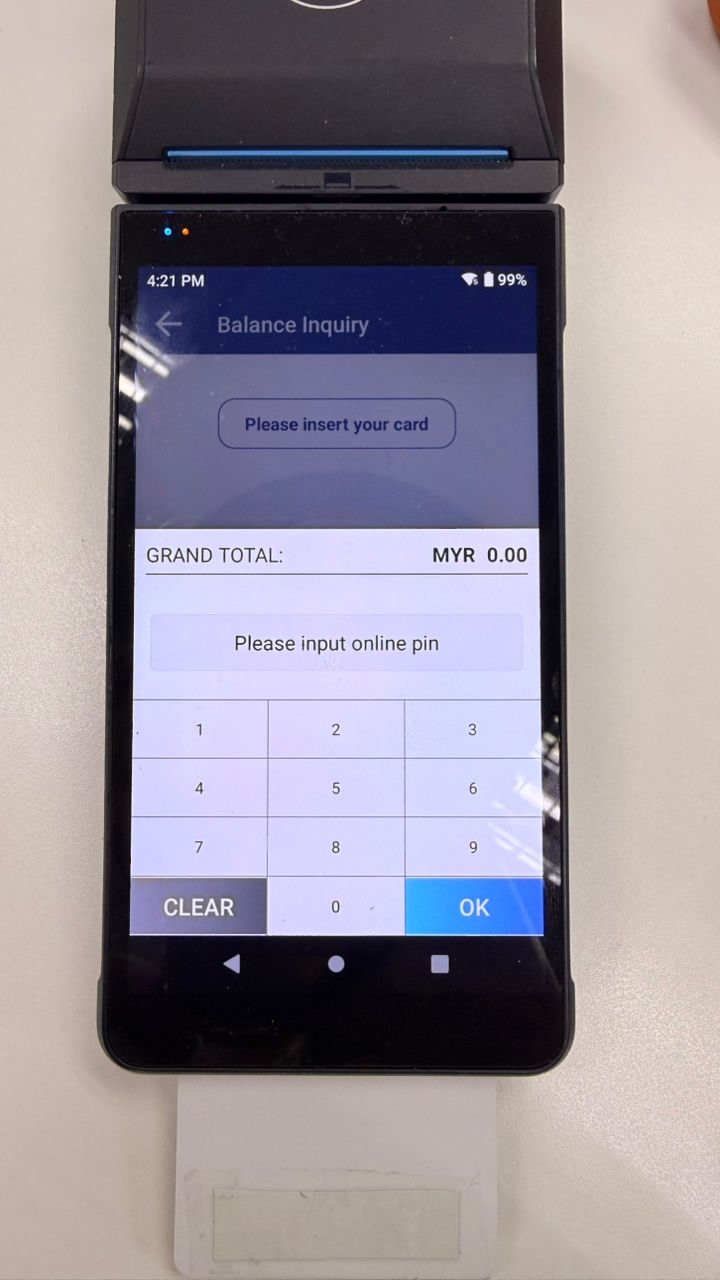
- Insert card from your organization
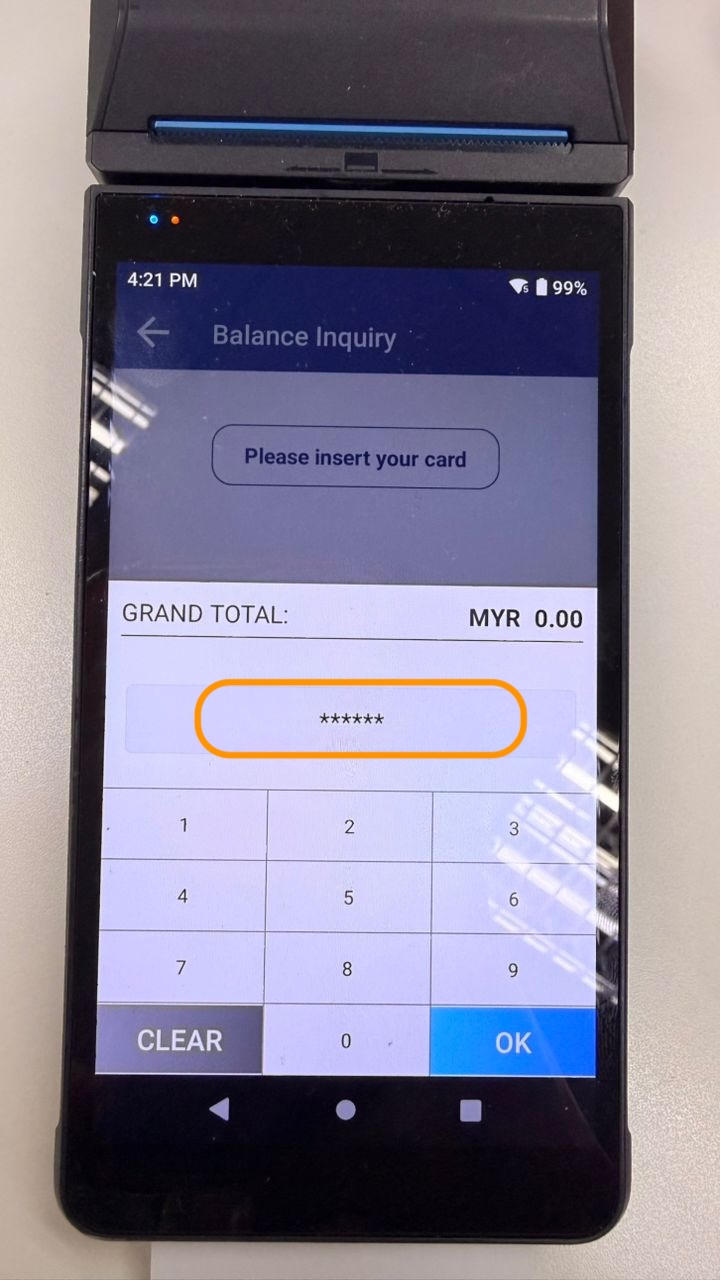
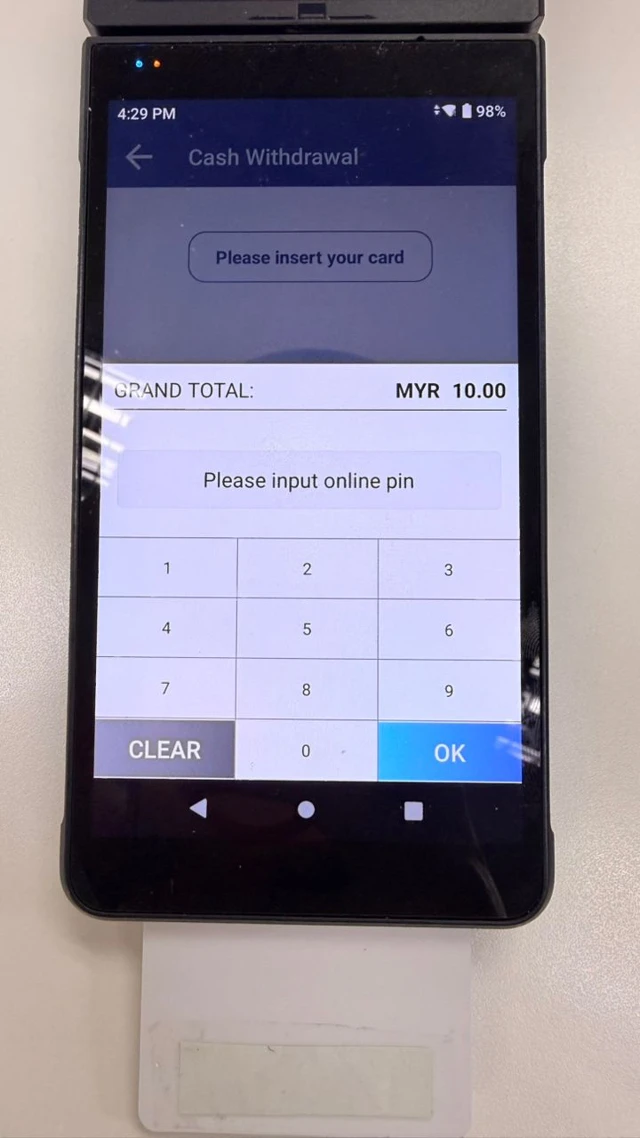
- Enter PIN when prompted
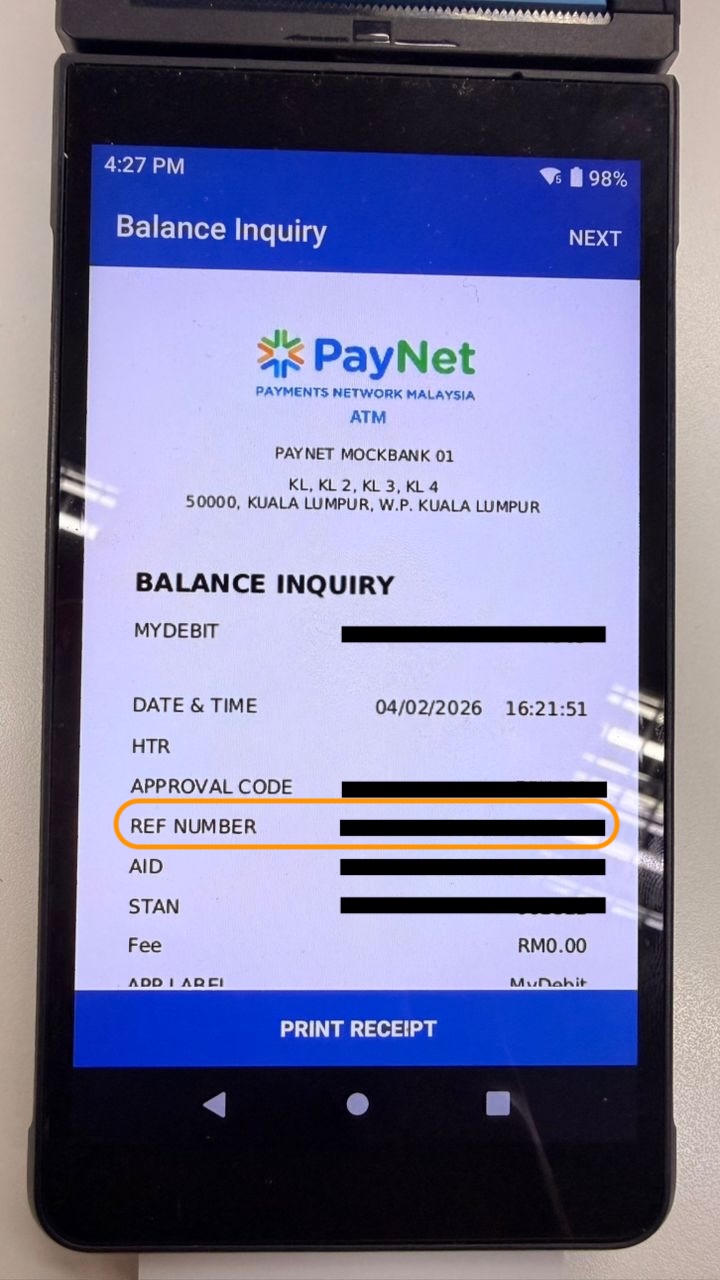
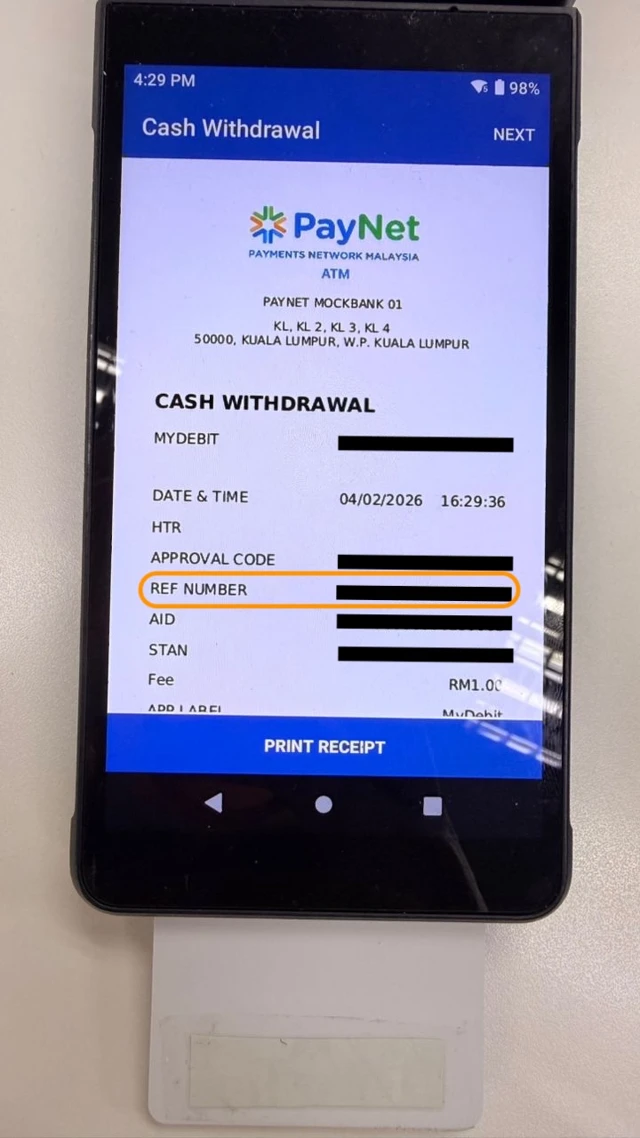
- Retrieve receipt and capture RRN
1.3 Cash Withdrawal Transaction
- Click Cash Withdrawal
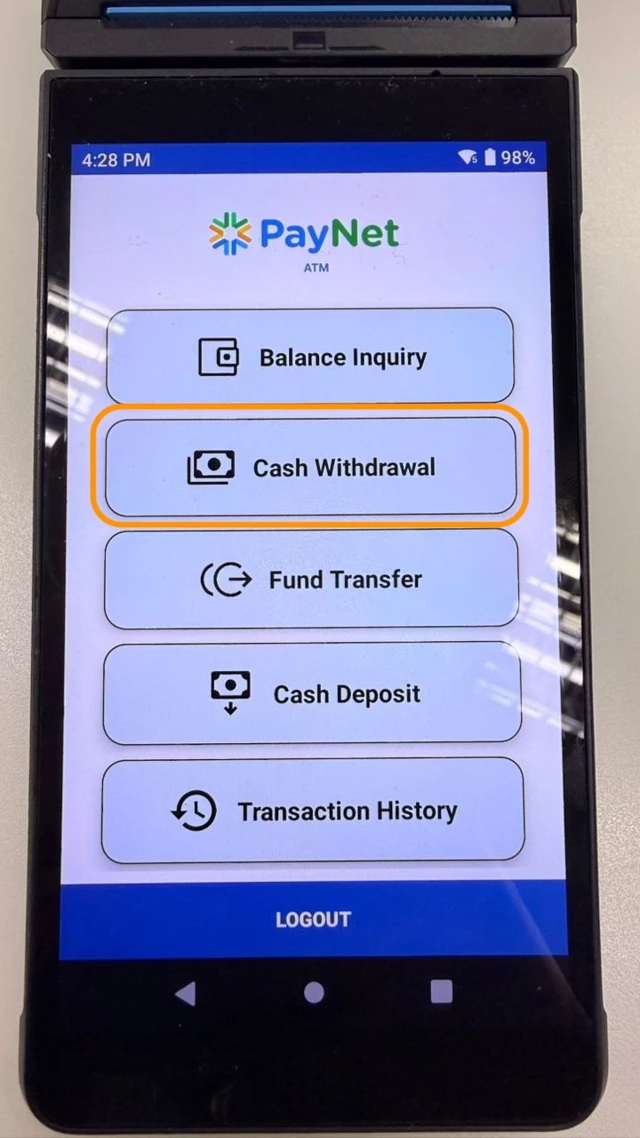
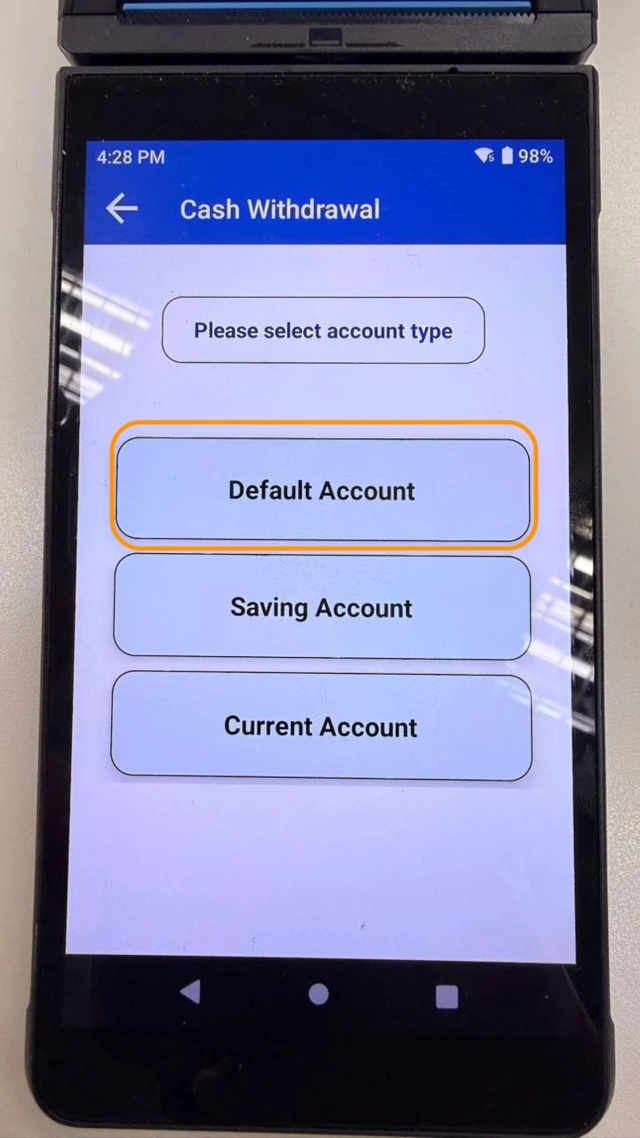
- Select account type (Default/Saving /Current) (Must match your test case)
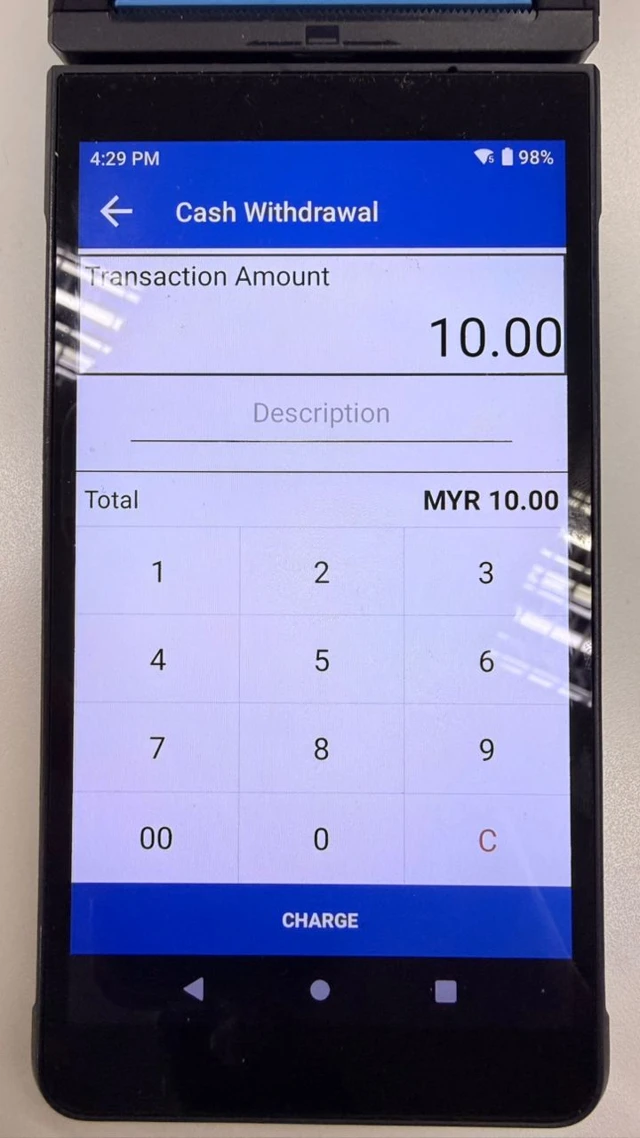
- Enter the withdrawal amount and click the Charge button. On the alert dialog, click the Proceed button.
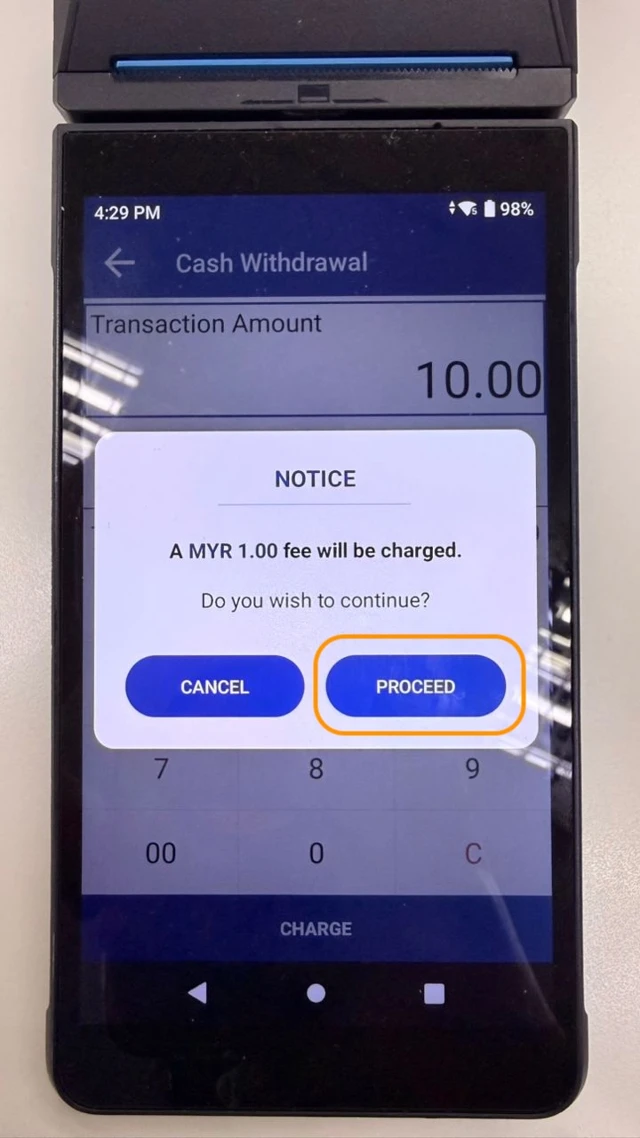
- Insert card from your organization
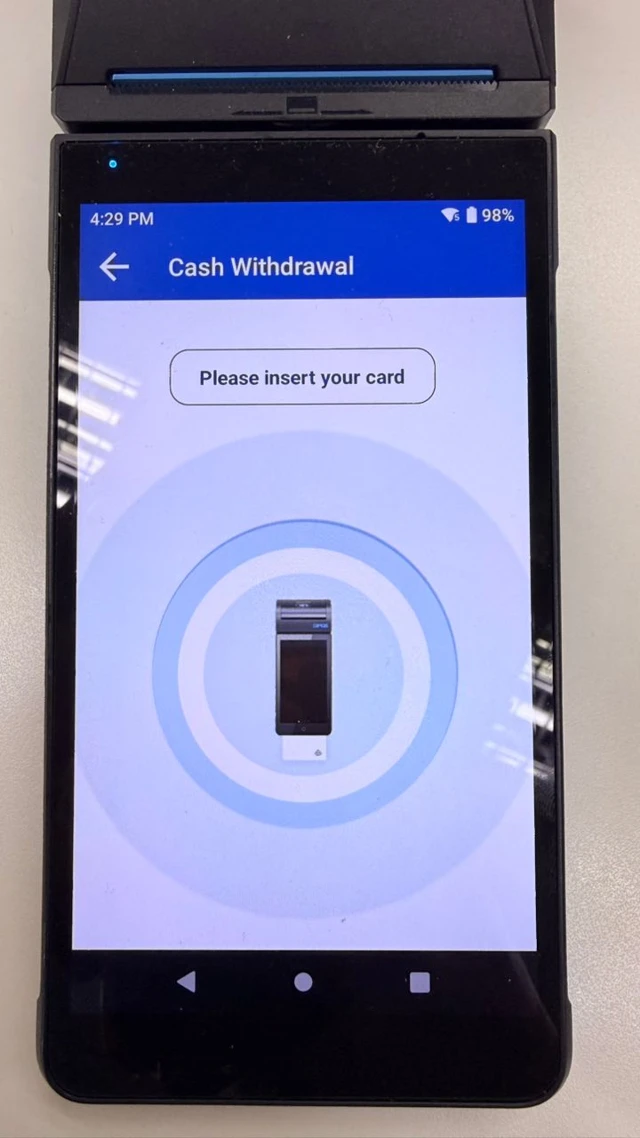
- Enter PIN when prompted
- Retrieve receipt and capture RRN
Step 2: Submit Test Case in Developer Portal
2.1 Navigate to Test Case
- Return to PayNet Developer Portal
- Open the SAN Issuer test suite
- Scroll to the Migration section
- Click the relevant test case title (e.g. [Approved][Default] Test Balance Inquiry)

2.2 Submit RRN
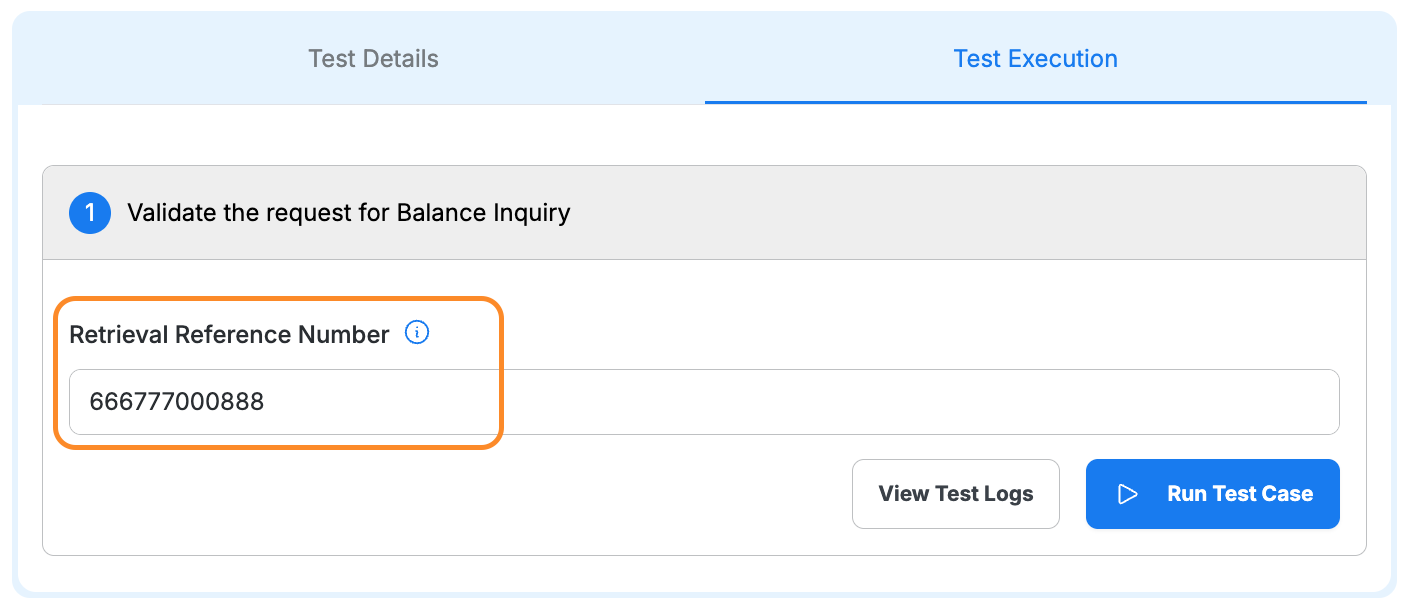
- Click the Test Execution tab
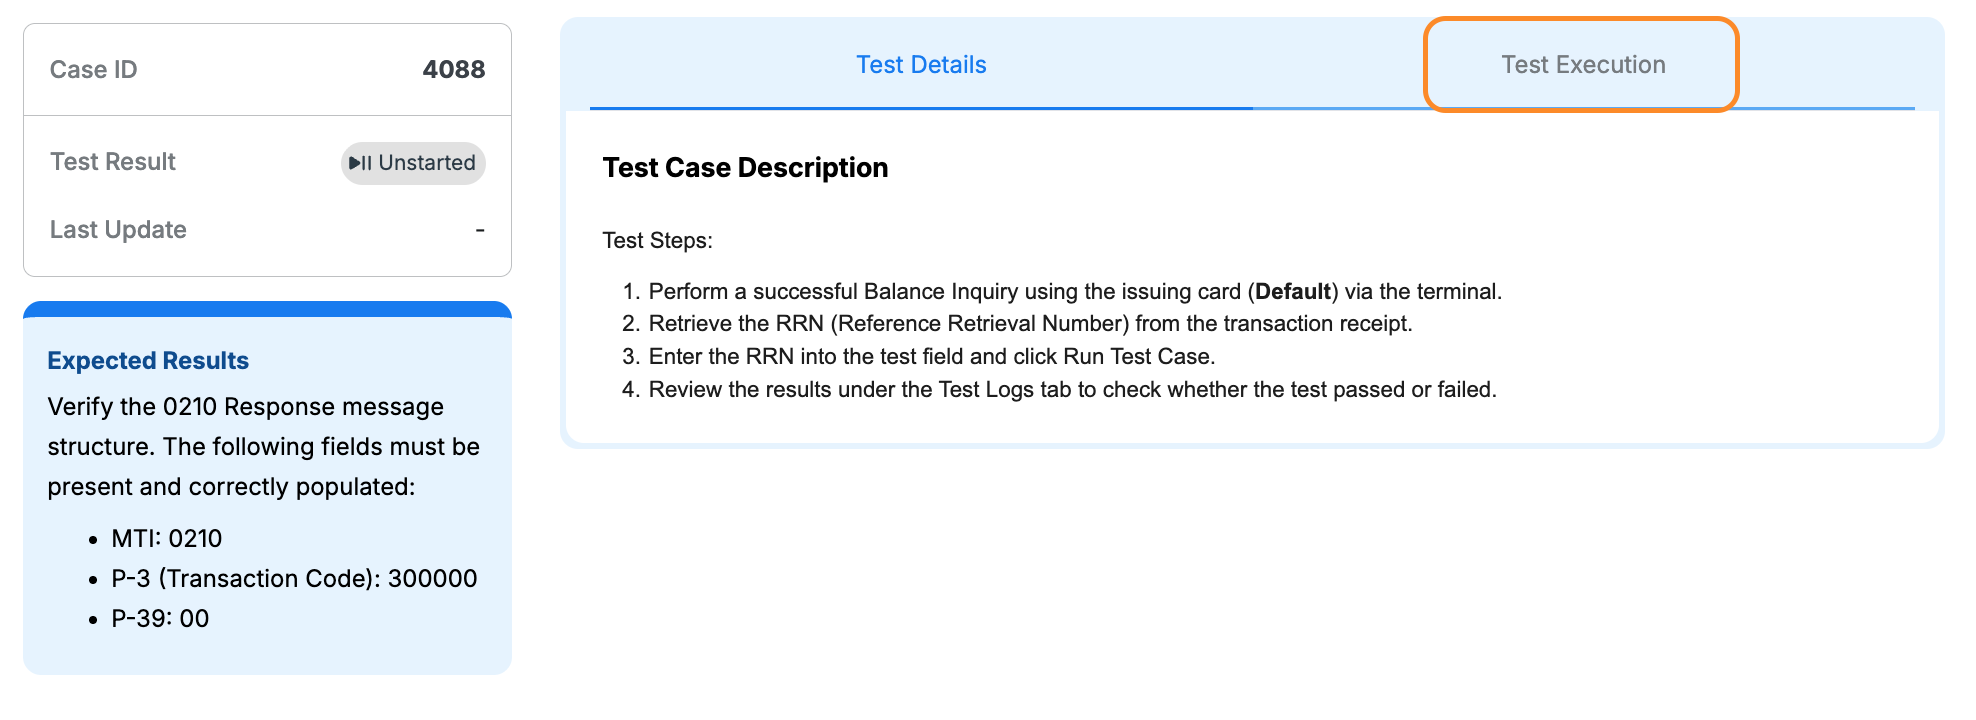
- Enter the RRN from the terminal receipt into the Retrieval Reference Number field
- Click Run Test Case
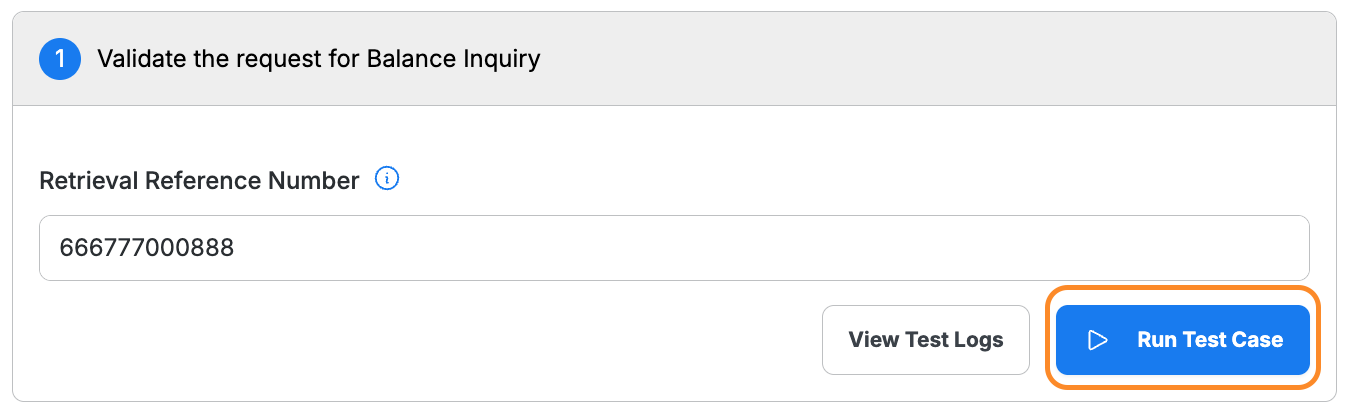
- Wait for validation to complete
2.3 Review Results
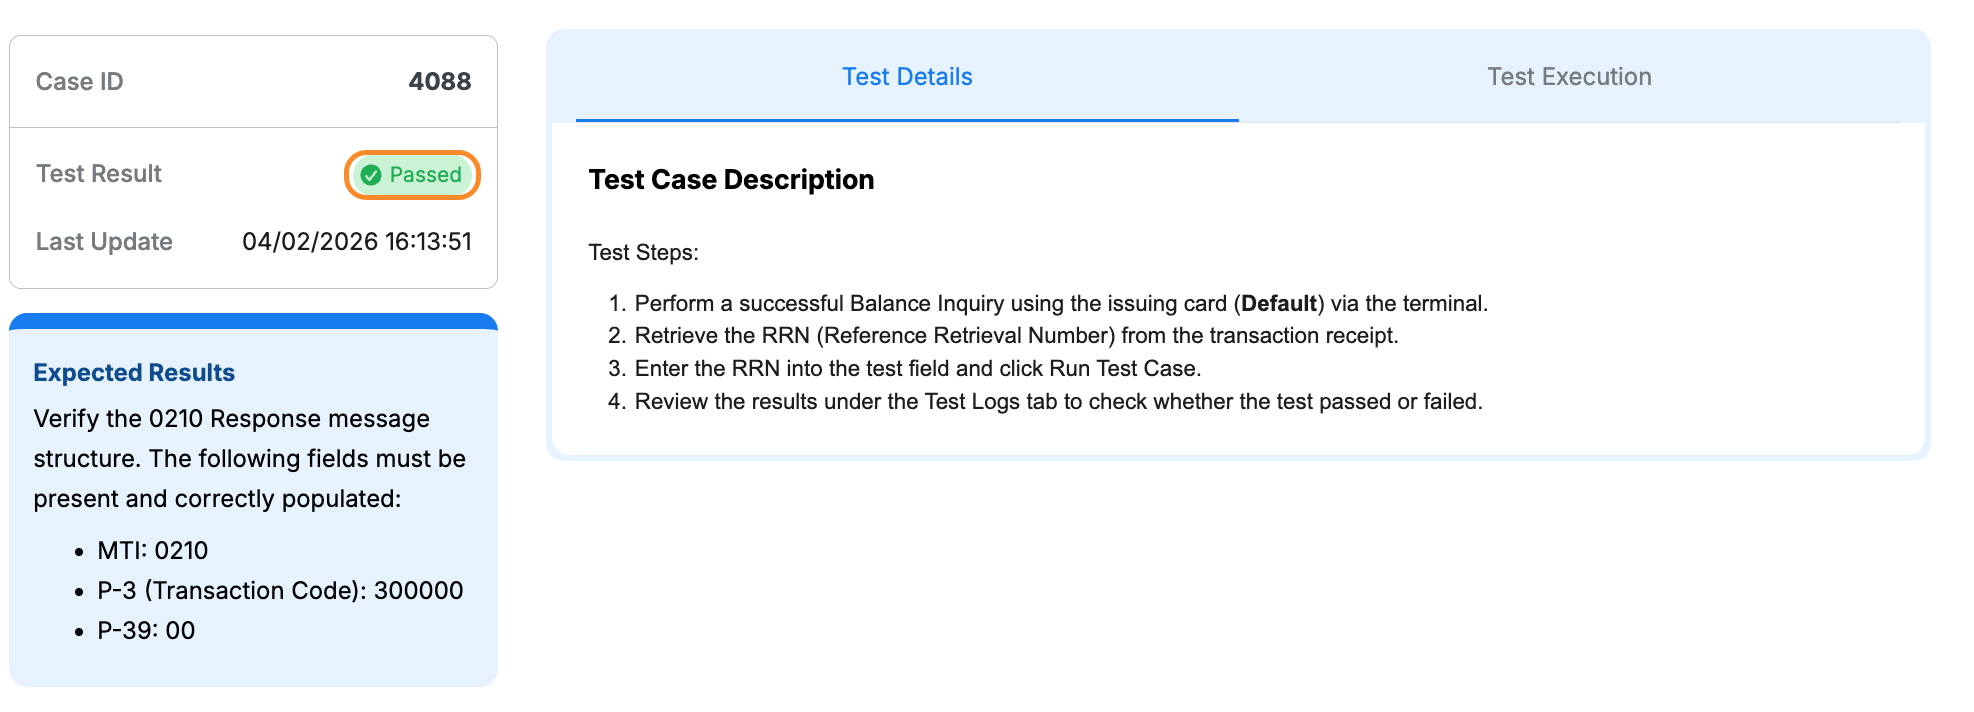
- Passed: Status badge displays a green Passed label
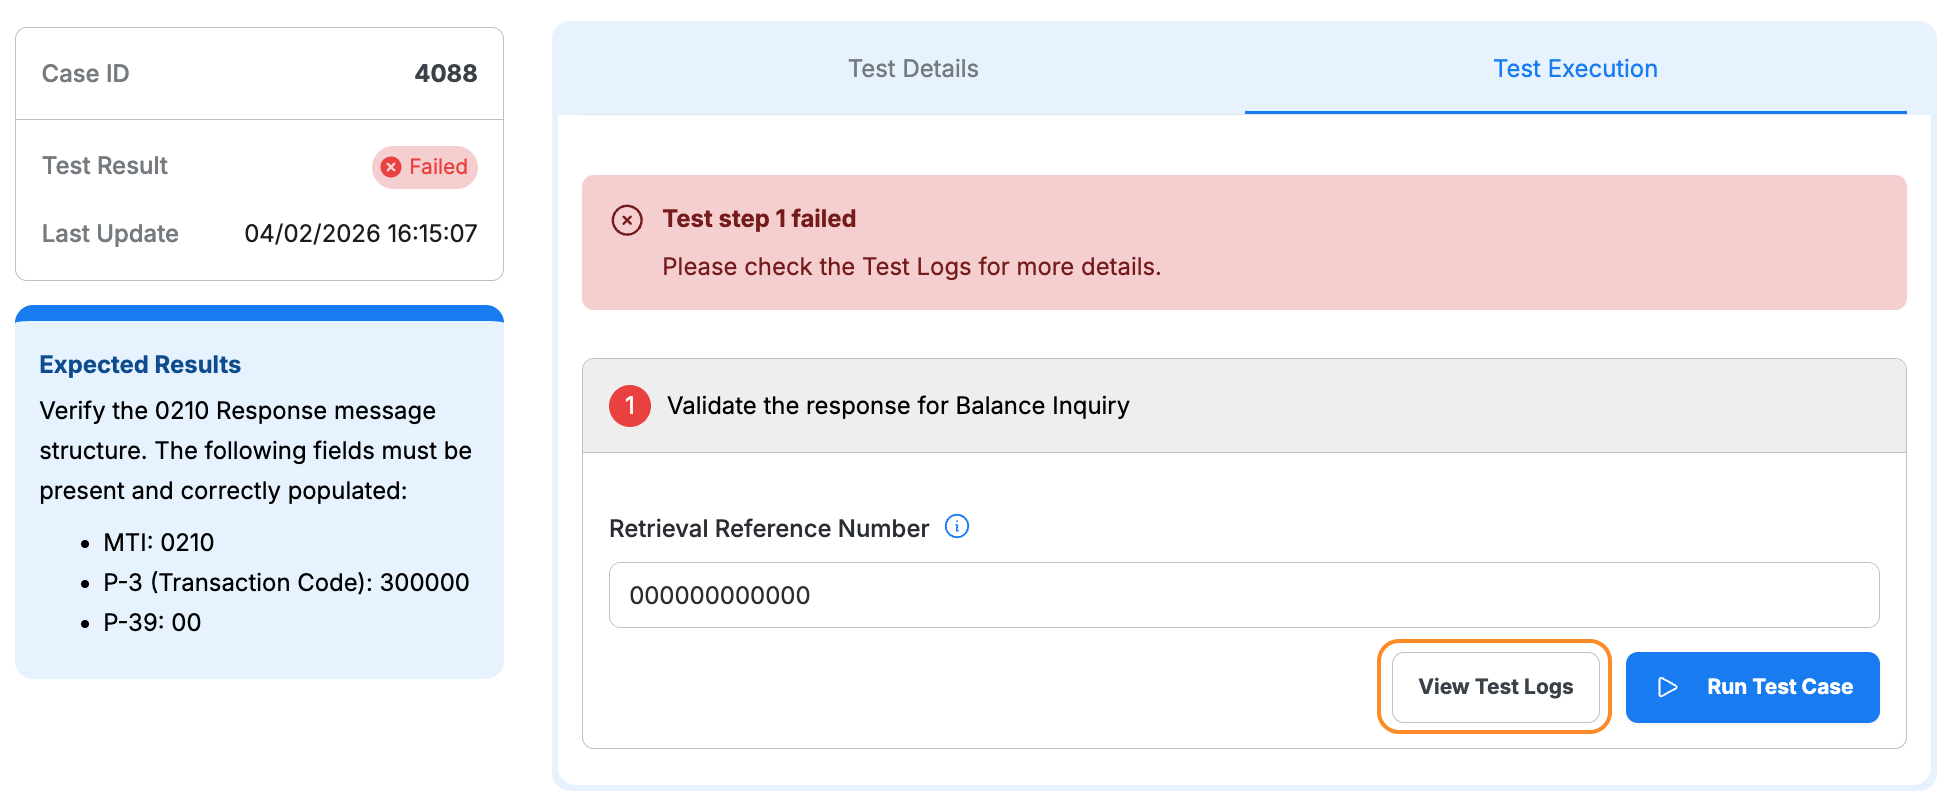
- Failed: Click View Test Logs to identify the issue and error details
Step 3: Complete All Test Cases
Completion Checklist
Repeat Step 1 and Step 2 for each test case
Complete all Balance Inquiry test cases (Default, Saving, Current)
Complete all Cash Withdrawal test cases (Default, Saving, Current)
Ensure all test cases show Passed status