FI Server
The Financial Institution (FI) server is the report server that enables participants to access relevant reports available for download. Such reports are generated on periodic basis and made available by respective products to ease participant reconciliation and processing purpose. Participant may access to it via sFTP and through MPLS/internet connection. Participant may download required reports as and when required, but PayNet will perform housekeeping periodically to remove old files.
| Environment | IP Address(es) |
|---|---|
| SIT | 103.145.216.162 |
| UAT | 103.145.216.162 |
| Production | 103.145.216.86 |
| DR | 103.145.217.86 |
SSH Key Generation and Sharing Instructions (with PuTTY Key Generator)
This section outlines how to generate SSH keys and transfer a public key to PayNet. SSH key authentication will be the only method available for FI-Report connection.
Pre-Requisite
- Download and install PuTTYgen (depending on your OS Type)
- PuTTYgen installed successfully.
Instructions (Windows 10)
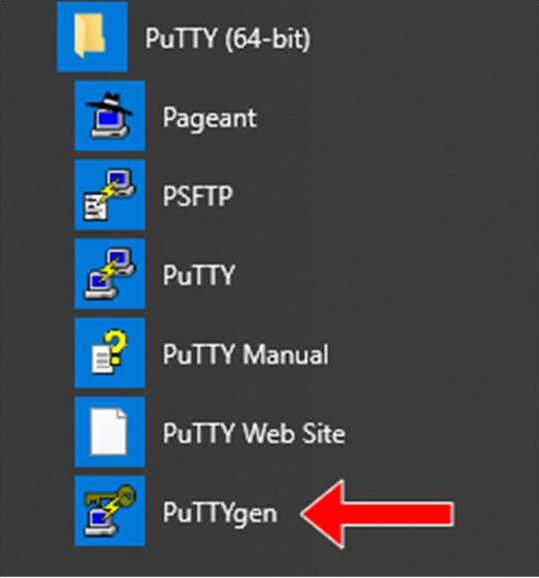
Start PuTTYgen which can be found in Windows Start menu.
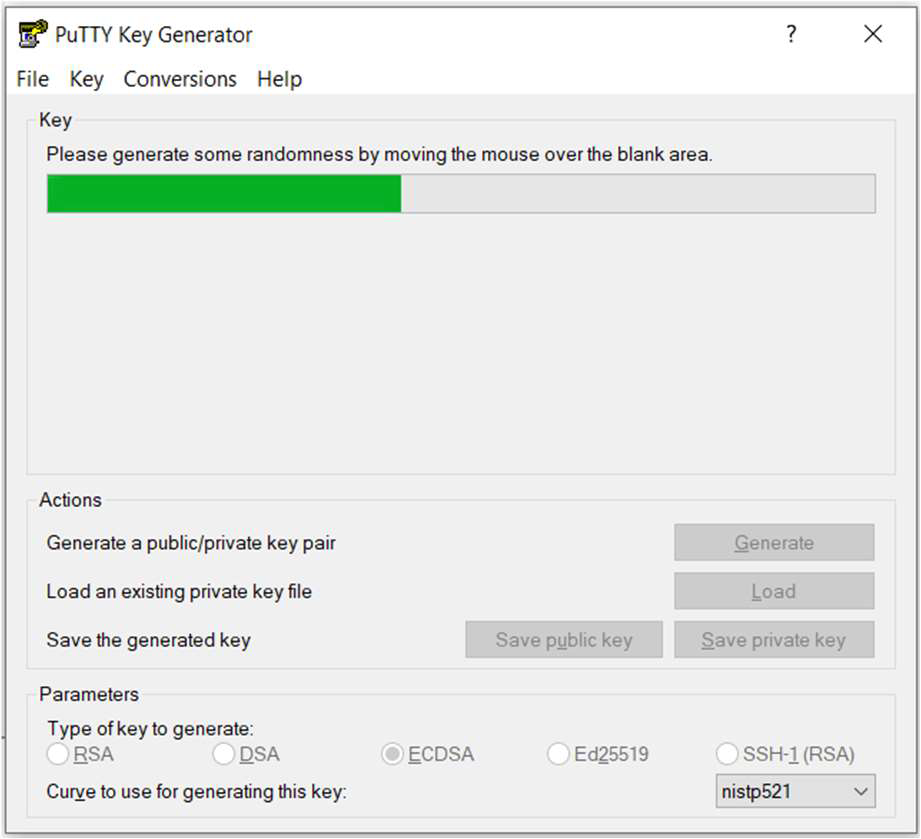
Ensure Key Type is set to ECDSA and click Generate. Please see Step 3i If your infrastructure does not support ECDSA.
Move your mouse cursor until green progress bar is full.
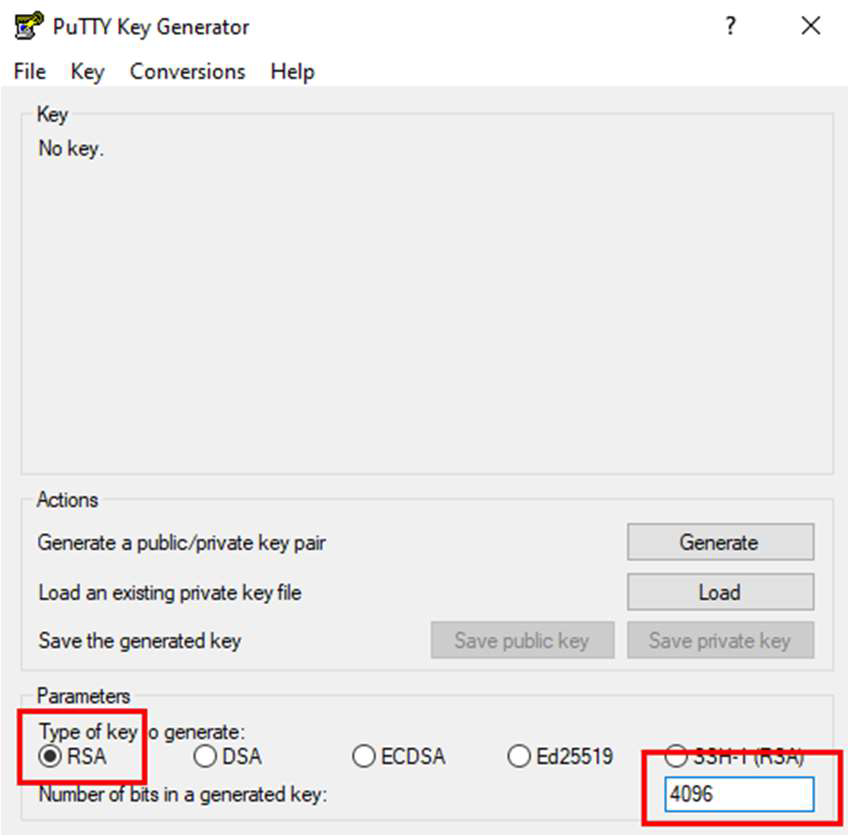
Use RSA with 4096 bit in case your infrastructure does not support ECDSA 521
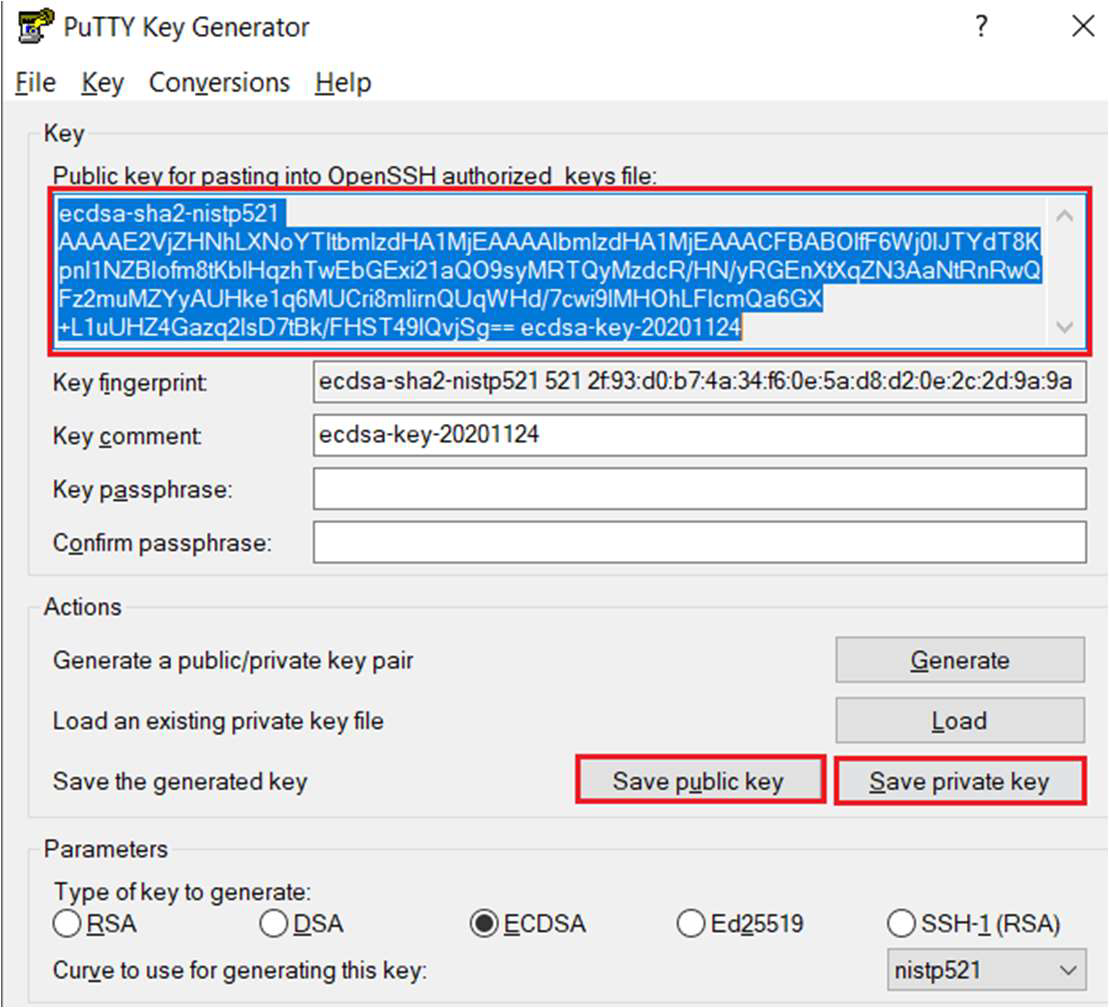
Save the public key as authorized_keys and private key (passphrase is optional) in a secured location and copy all the contents of public key in PuTTYGen.
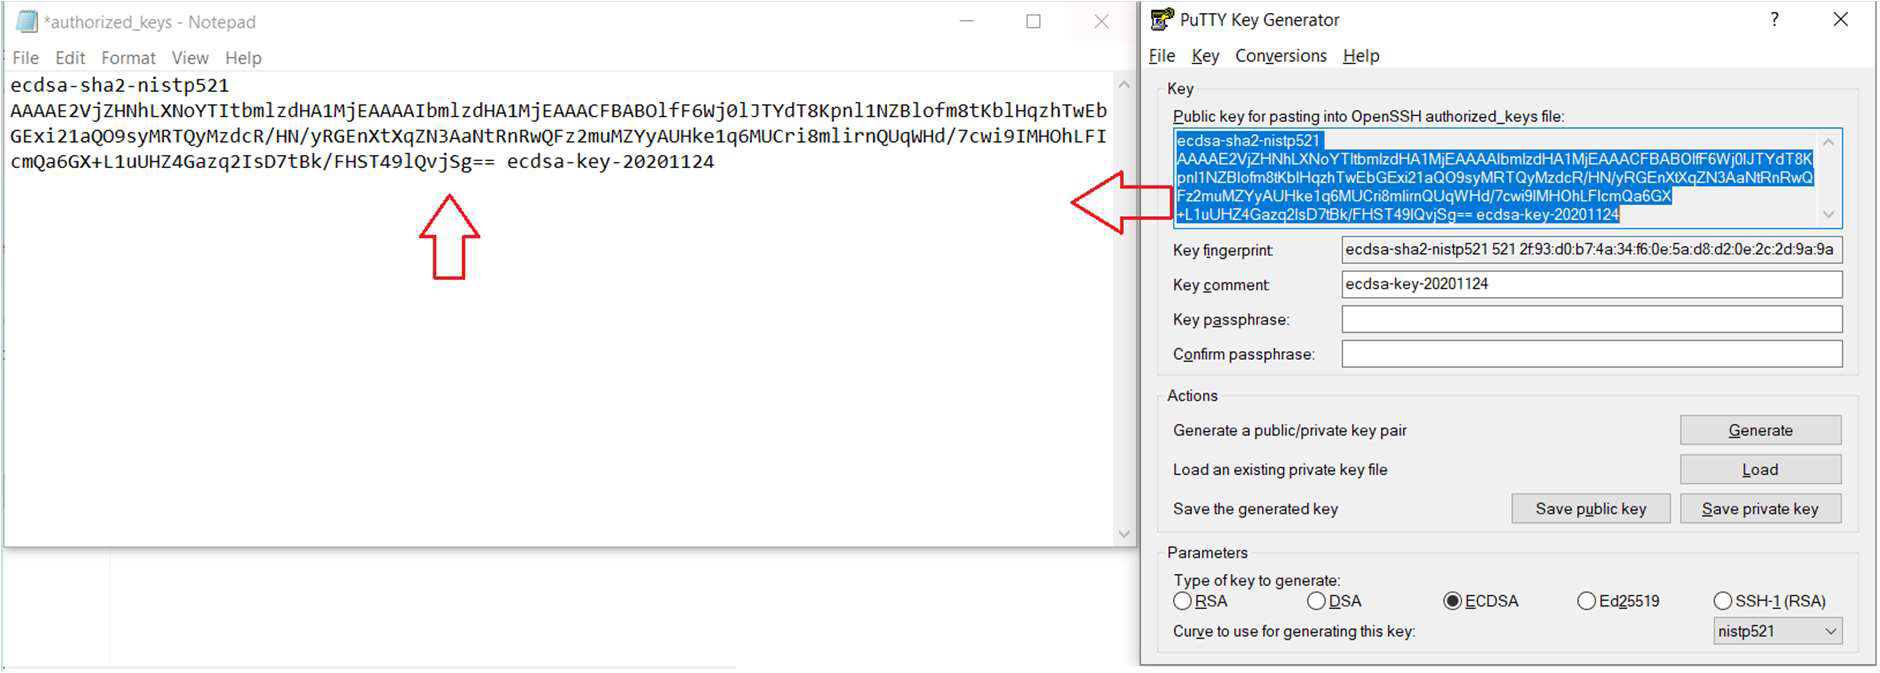
Navigate to where authorized_keys is saved and open with Notepad. Replace the public key string in authorized_keys file and save the file.
Use PuTTY to initiate first SSH connectivity to Reports server infrastructure with new user account and OTP issued by PayNet SAC. For internet connectivity, please ensure PayNet IP is whitelisted in your company firewall.
Open a Command Prompt in your Windows machine and navigate to the location where the public key is saved.
The commands for connecting to different infrastructures are listed below. Run the command for the infrastructure you wish to connect to:
- UAT internet:
scp authorized_keys <username>@reports.uat.inet.paynet.my:.ssh/ - PRD internet:
scp authorized_keys <username>@reports.prod.inet.paynet.my:.ssh/ - UAT MPLS:
scp authorized_keys <username>@reports.uat.mpls.paynet.my:.ssh/ - PRD MPLS:
scp authorized_keys <username>@reports.prod.mpls.paynet.my:.ssh/
- UAT internet:
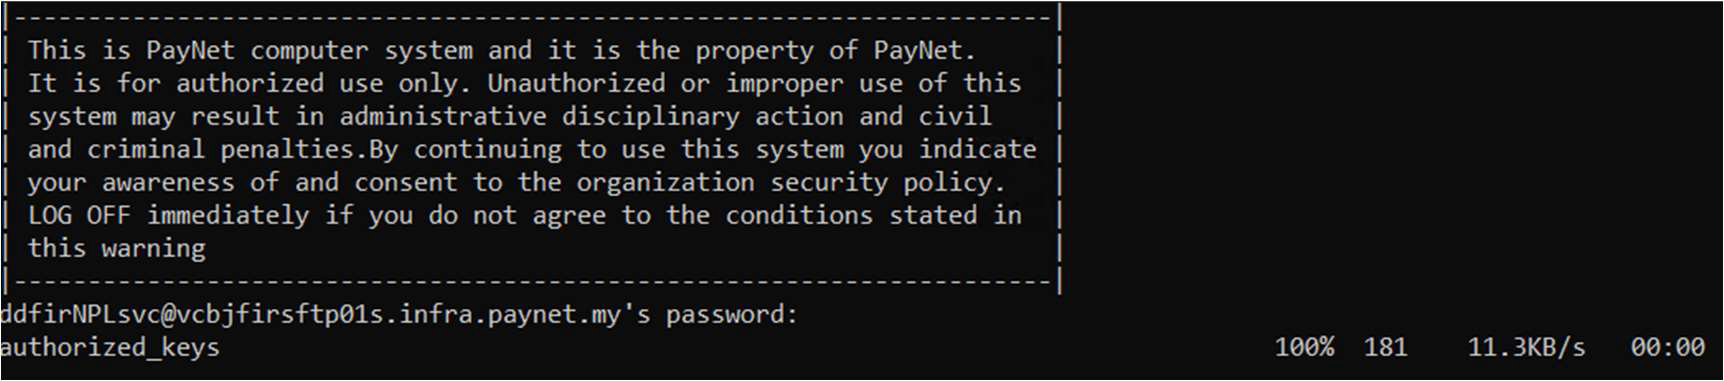
You will be prompted to enter a password. Enter the password provided by PayNet SAC in email and upload of public key will start.
Once done, you will be able to login to PayNet Reports server. You will need to ensure PayNet internet IP is whitelisted in your company firewall. Please see Connecting to SFTP with PuTTY and SSH key.
Instructions (Linux)
Run command
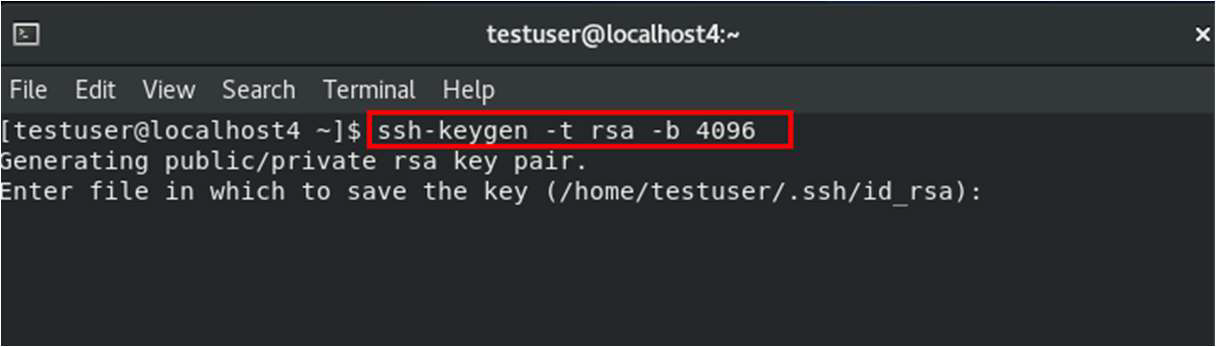
ssh-keygen -t ecdsa -b 521and press enter until public and private keys are generated.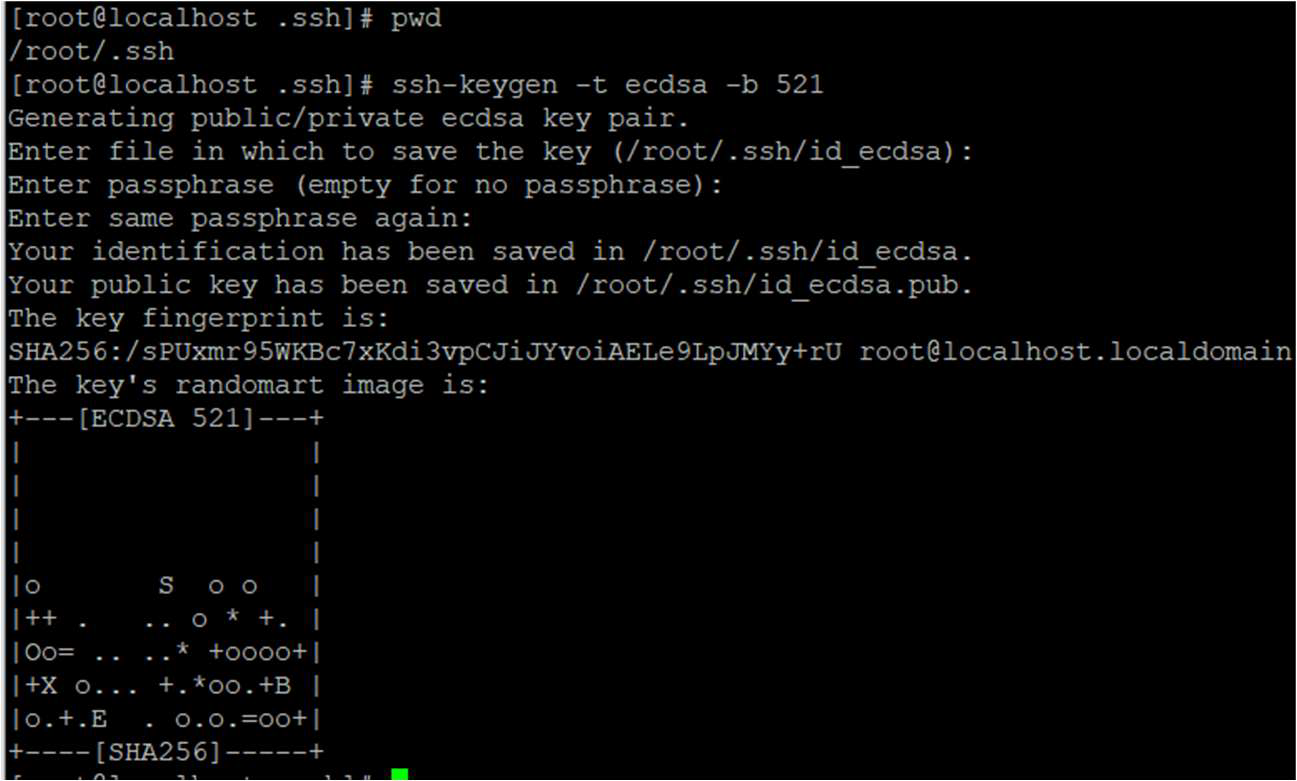
Use RSA with 4096 bit in case your infrastructure does not support ECDSA 521
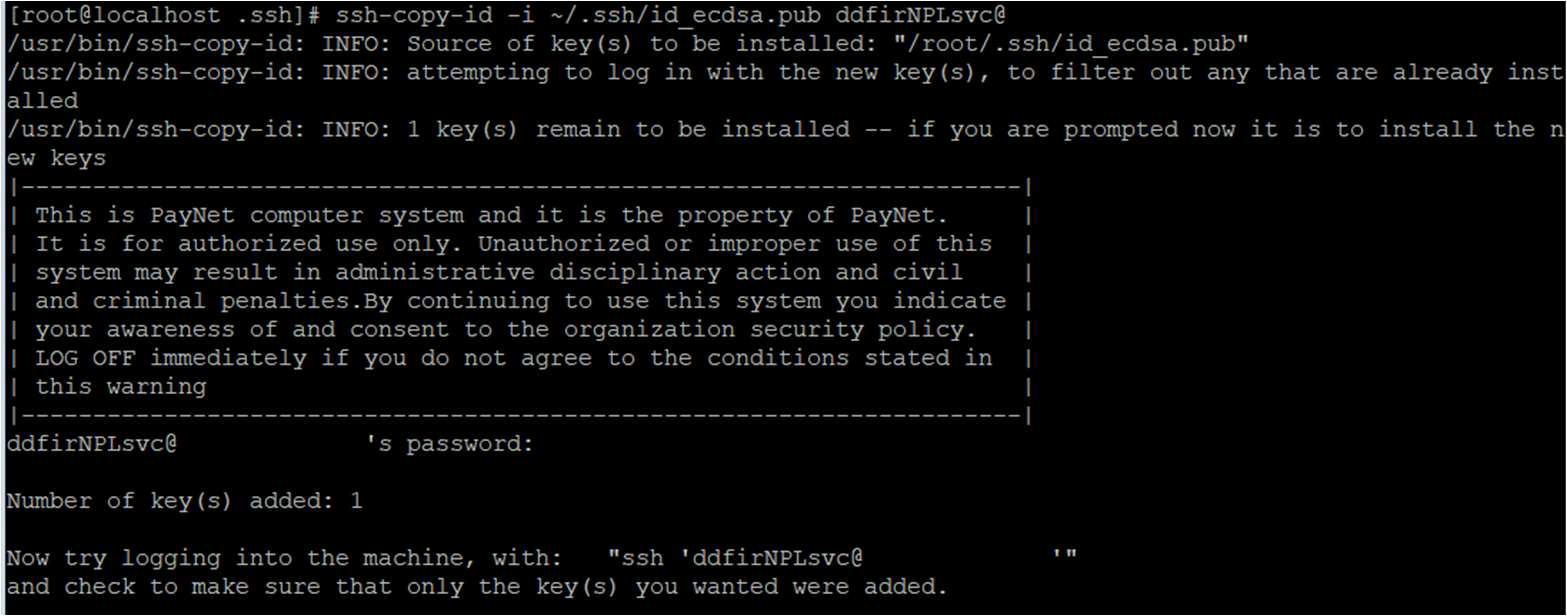
The commands for different infrastructures are listed below. Paynet SAC will provide username and password in email for this step.
- UAT internet:
ssh-copy-id -i ~/.ssh/id_ecdsa.pub username@reports.uat.inet.paynet.my - PRD internet:
ssh-copy-id -i ~/.ssh/id_ecdsa.pub username@reports.prod.inet.paynet.my - UAT MPLS:
ssh-copy-id -i ~/.ssh/id_ecdsa.pub username@reports.uat.mpls.paynet.my - PRD MPLS:
ssh-copy-id -i ~/.ssh/id_ecdsa.pub username@reports.prod.mpls.paynet.my
- UAT internet:
Public key copied to SFTP server successfully.
Connecting to SFTP with PuTTY and SSH Key
Introduction for variant content of table with the link
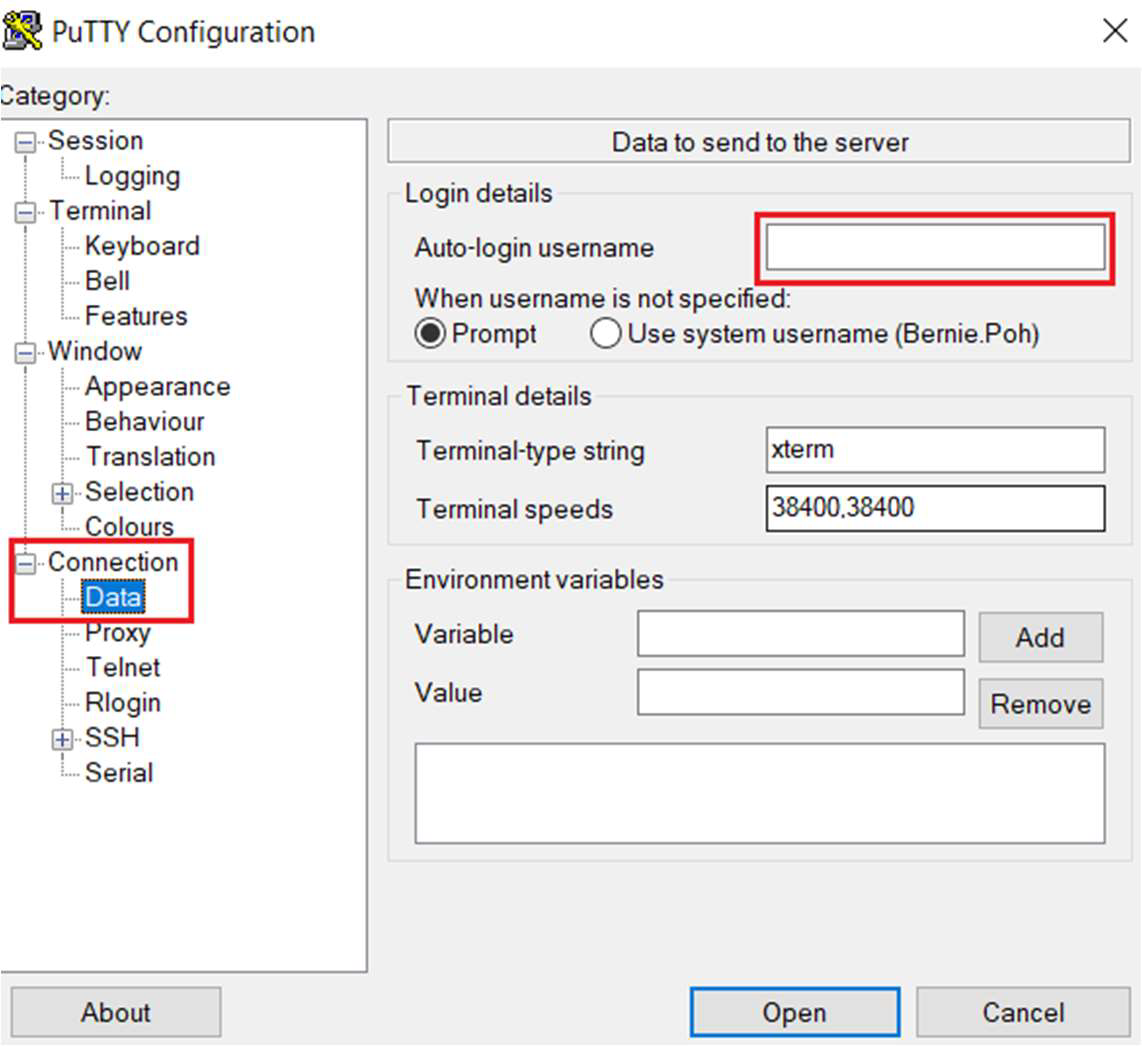
Start PuTTY and insert your username in Auto-login username.
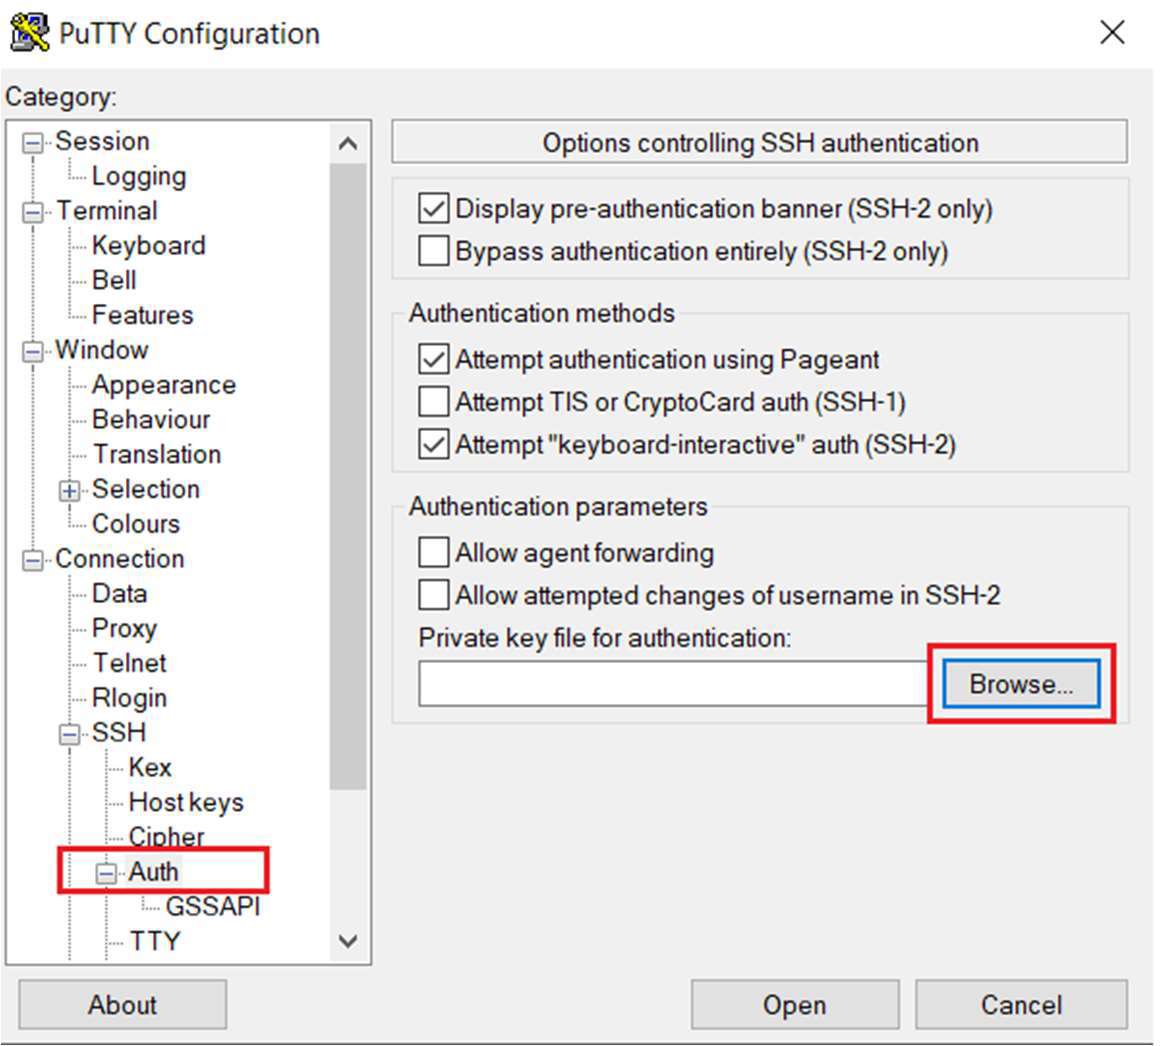
Locate SSH > Auth and click Browse to locate your private key and click Open. You are now connected to SFTP server.
Run command
ssh-i <private key> <username>@<sftp>to connect from terminal.
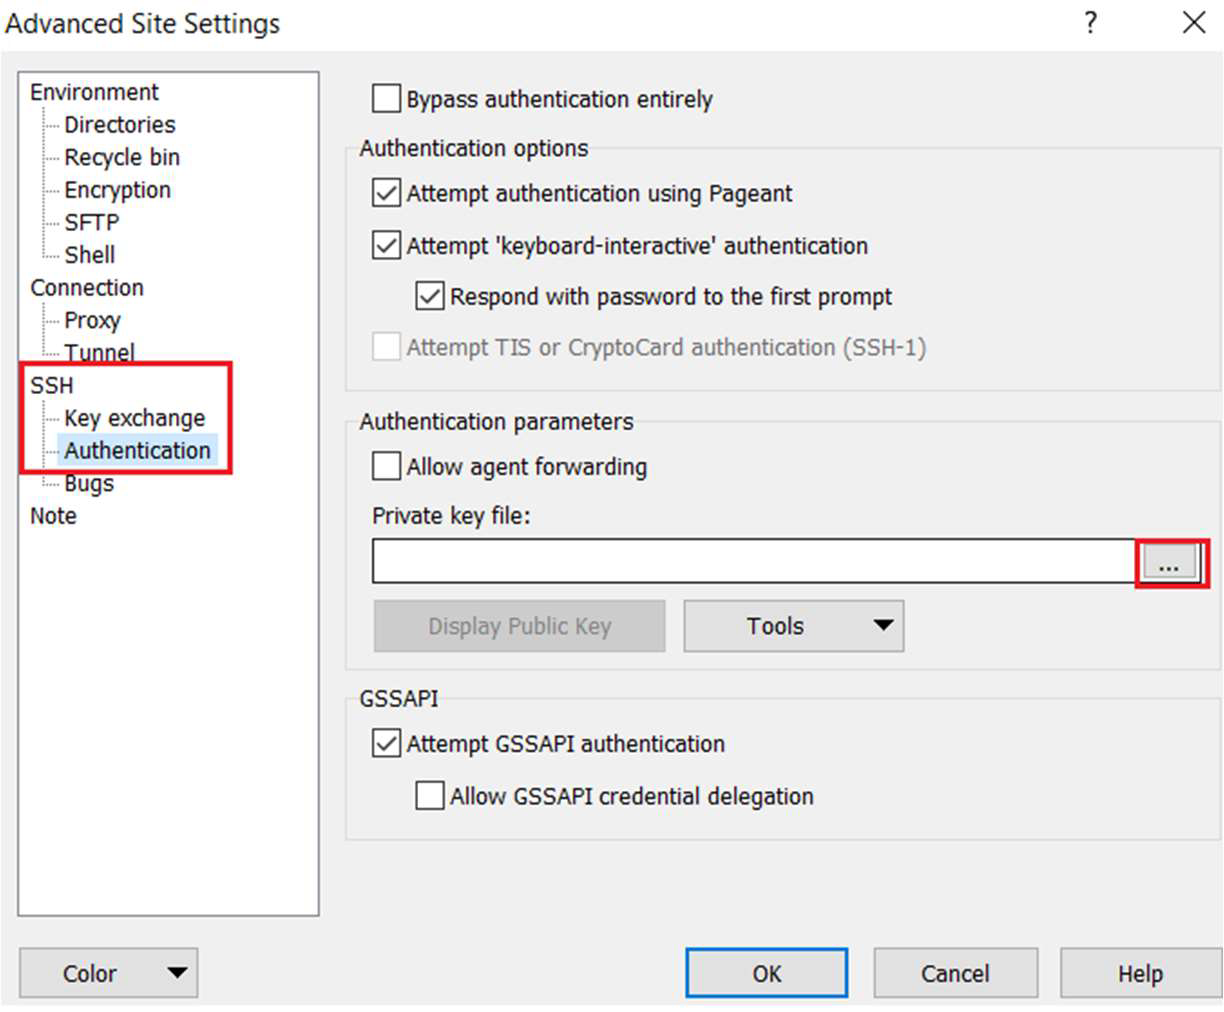
Connecting to SFTP with WinSCP and SSH Key
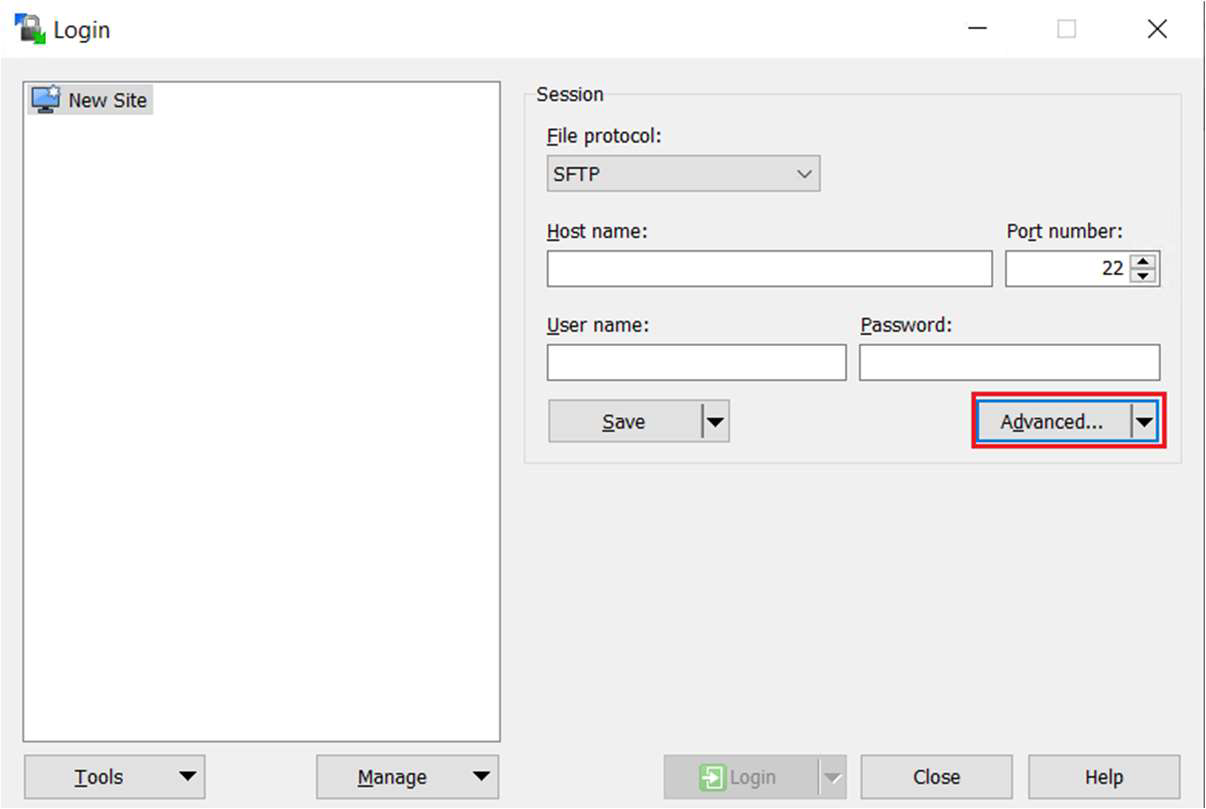
Start up WinSCP and enter Host name and User name and click Advance.
Locate SSH > Authentication and click on … to location where private key is saved and click OK.