We've Launched a New Documentation Website (Beta Launch)
The documentation for DuitNow is now available on our newly launched documentation platform. This is an initial beta rollout of our new documentation site, designed to become the long-term home for all documentation moving forward.
You'll find the familiar content you're used to—now hosted on a new platform that will progressively receive updates and enhancements.
We encourage you to start accessing DuitNow materials there to explore the new experience and ensure you're viewing the latest documentation updates. If you have any feedback, please reach out to us.
Visit the New Documentation WebsiteCreate Project
Once your PayNet account is approved, you're ready to set up a project to manage your product integration. Each project brings together the key details, roles, and resources needed for a smooth and successful onboarding journey.
Watch the video demo to learn how to create a new project in the PayNet Developer Portal.
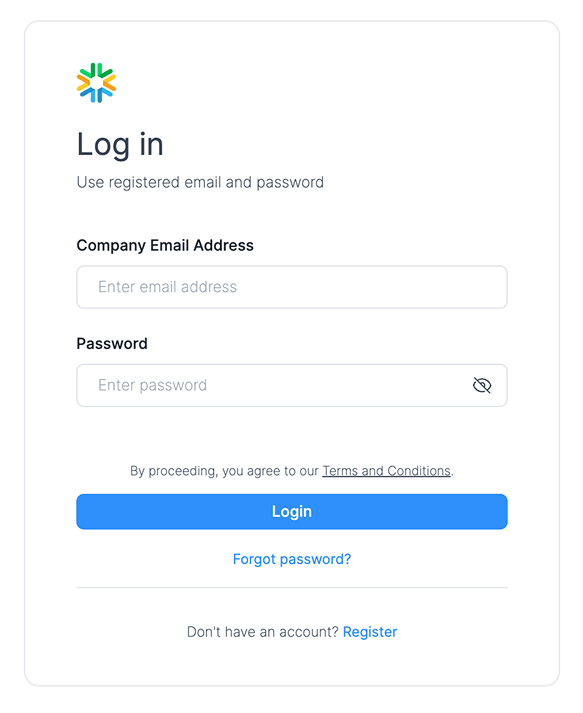
Step 1: Log in to your PayNet account
Log in to your account using either the PayNet Developer Portal or PayNet One Stop Portal.

Type in your registered PayNet email address and password, then select Login to continue.
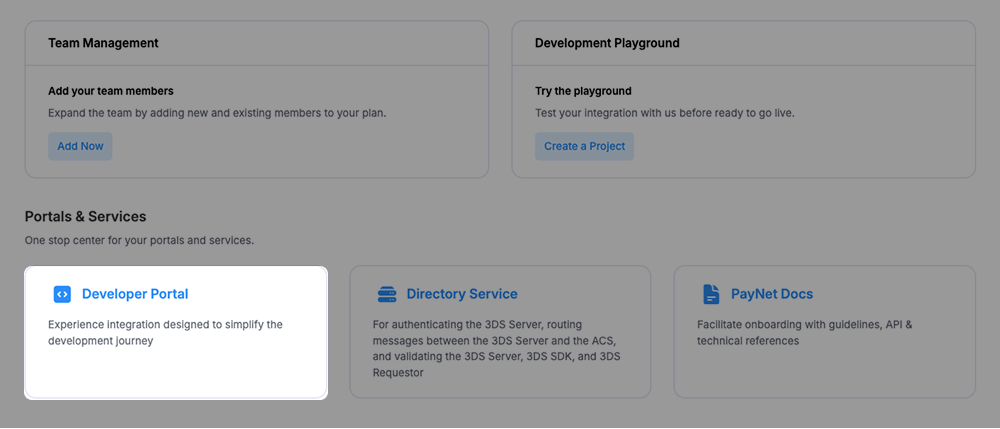
Step 2: From the dashboard, click on Developer Portal to continue
After logging in, you will be directed to the Dashboard. Click the highlighted Developer Portal to proceed.
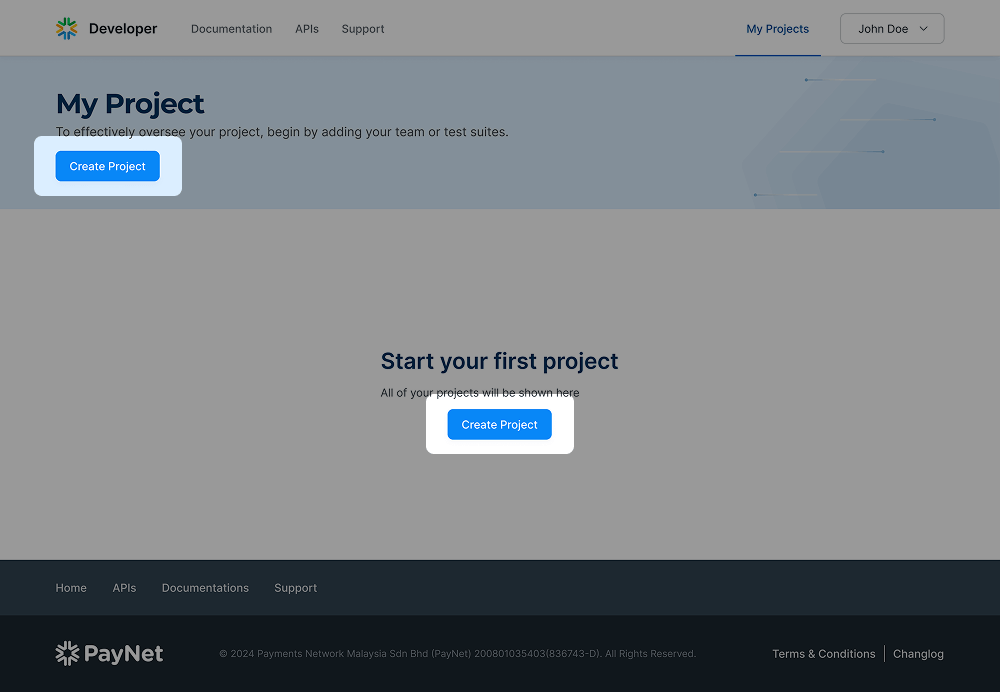
On the Developer Portal Project Management page, select My Projects and click the Create Project button to start your first project.
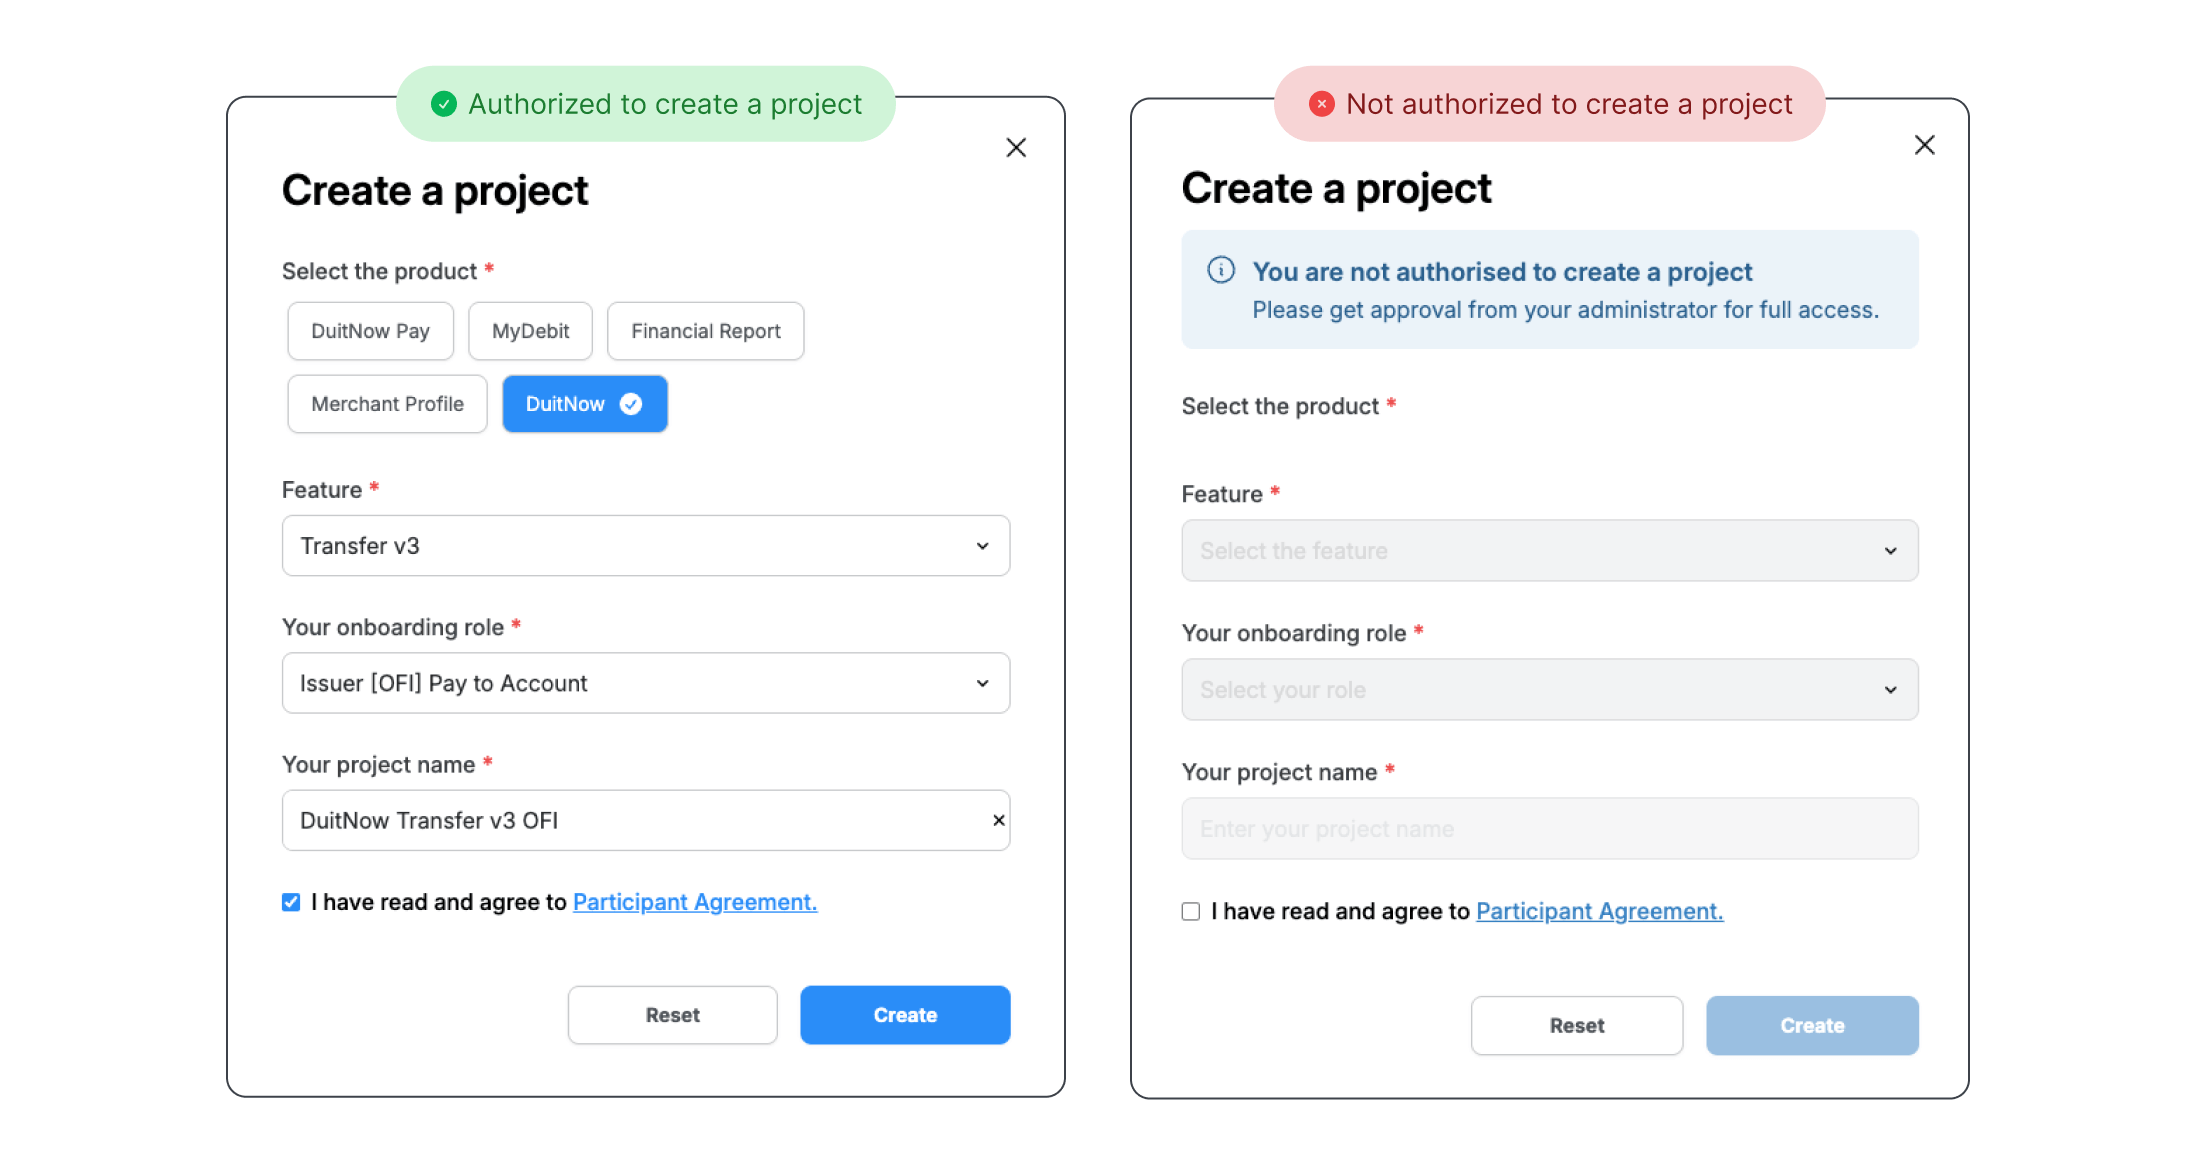
Step 3: Select Product, Features, and Role
Select the product (e.g., MyDebit, DuitNow, or others) and select the API features for your project. Then, choose your onboarding role (Acquirer or Issuer). The project name will be auto-filled but can be edited if needed. Finally, review the Participant Agreement and click Create to complete the setup.
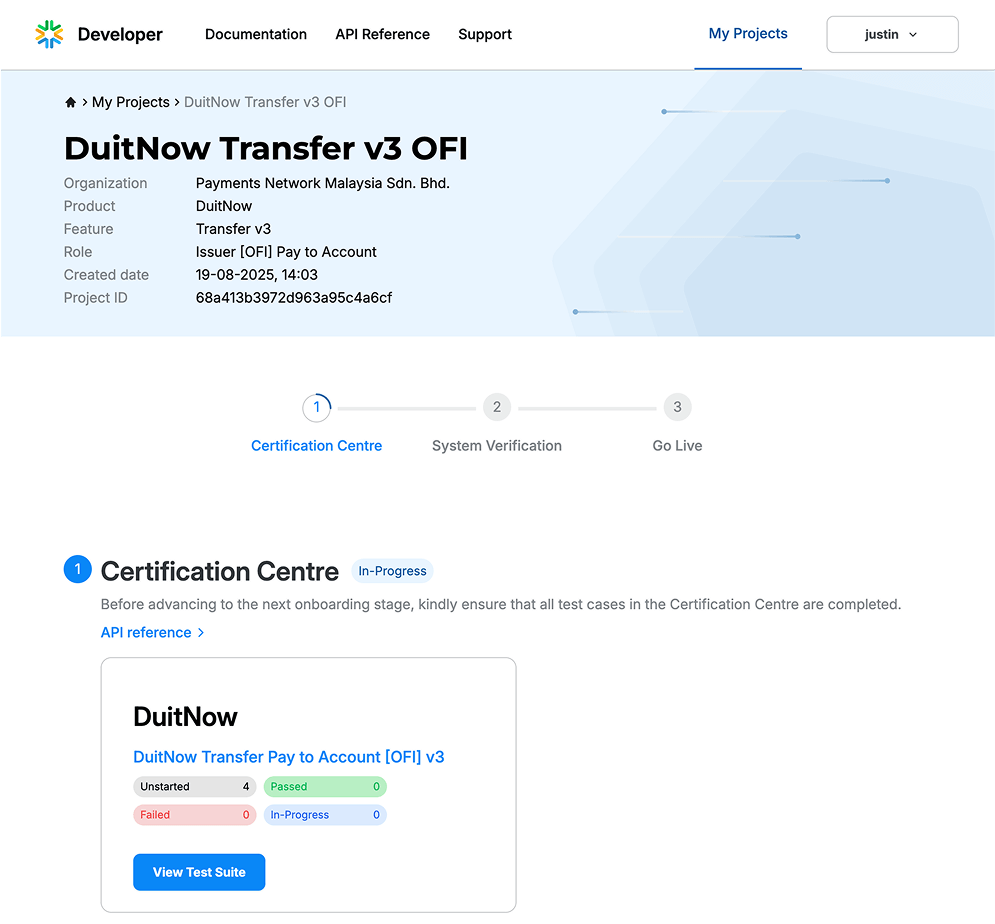
When the project is successfully created, the project details will be shown on this page.
Next Step – Manage Project
In this step, you’ll learn how to manage your project and team members
Learn more